Chapter 2: Academic Writing

The Blank Page is a Liar
You’ve got your assignment.
You’ve read the question.
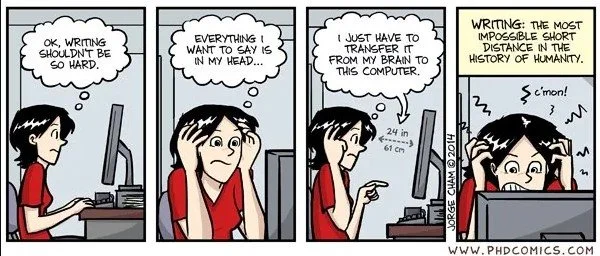
You stare at a blank Word document.
Nothing happens.
Your brain says, “I don’t know where to start. I don’t know enough. This is impossible.”
Here’s the truth: The blank page is a liar. You DO know things. You DO have ideas. You just need a process to get them out of your head and onto paper (or screen).
That’s what this lesson is about: understanding what you’re actually being asked to do, then getting all your messy, chaotic thoughts OUT so you can organise them into something coherent.
PART 1: DEMYSTIFYING THE ASSIGNMENT QUESTION
Read the Question Like Your Grade Depends On It (Because It Does)
I can’t tell you how many times I’ve seen students lose marks because they answered a different question than the one that was asked.
They wrote a brilliant essay. Just... not the essay the assignment was asking for.
Before you do ANYTHING else - before you research, before you brainstorm, before you panic - you need to understand EXACTLY what the question is asking.
Step 1: Identify the Command Words
Command words tell you WHAT to do. They’re not suggestions - they’re instructions.
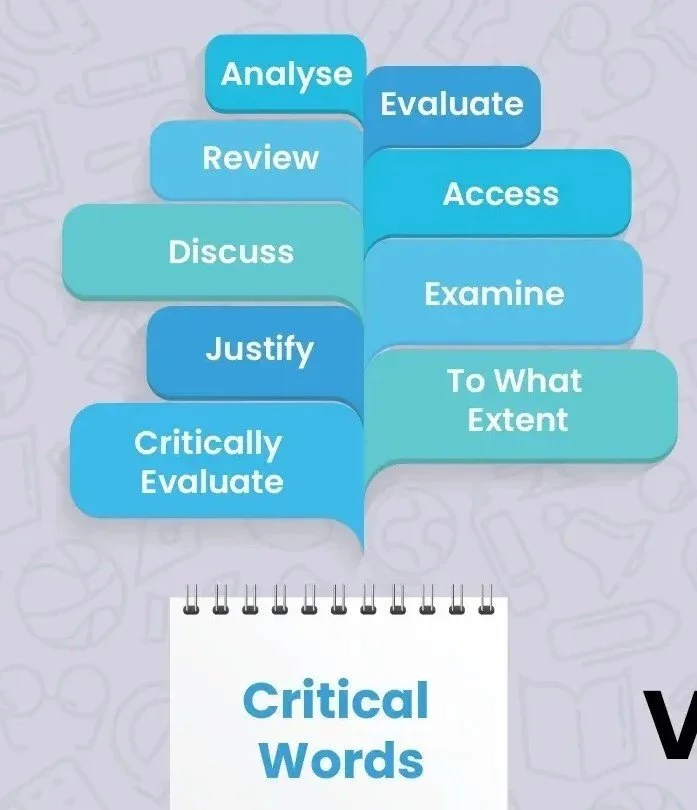
Common command words and what they actually mean:
Discuss = Present different perspectives, weigh them up, and show you understand the debate
NOT just describing one view
You need multiple viewpoints and an analysis of their strengths/weaknesses
Analyse = Break something down into parts, examine how those parts work together or relate
NOT just summarising
You need to dig into the components and their relationships
Evaluate = Make a judgment based on evidence, assess the value or effectiveness of something
NOT just your opinion
You need criteria and evidence to support your assessment
Compare = Identify similarities AND differences between two or more things
NOT just listing features of each separately
You need to explicitly show how they relate to each other
Explain = Make something clear, show how or why it works
NOT just describing what it is
You need to show the mechanisms, causes, or reasoning
Critically evaluate/Critically analyse = Don’t just accept things at face value, question assumptions, consider limitations, assess strengths and weaknesses
This is where you show sophisticated thinking
“Critical” doesn’t mean “negative” - it means thoughtful and questioning
Step 2: Identify the Scope and Parameters
What else is the question telling you?
Look for:
Topic boundaries - “in New Zealand” / “between 1950-2000” / “in relation to climate change”
Number of examples required - “using at least three case studies”
Theoretical framework - “apply Foucault's theory of...” / “using a kaupapa Māori approach”
Word count - this tells you how deep to go (500 words = overview; 3000 words = detailed analysis)
Example question breakdown:
“Critically evaluate the effectiveness of restorative justice practices in the New Zealand criminal justice system, drawing on at least two specific case studies.”
Let’s break it down:
Command word: “Critically evaluate” = assess strengths and weaknesses with evidence
Topic: Restorative justice practices
Context: NZ criminal justice system (not global, not general)
Requirement: At least two specific case studies (you need concrete examples)
Scope: “Effectiveness” = you need criteria to measure success/failure
What this question is NOT asking:
A general description of what restorative justice is (though you might briefly define it)
Your personal opinion without evidence
International examples (unless comparing to NZ)
A historical overview of how restorative justice developed
Step 3: Underline, Highlight, Annotate
Print the assignment question (or copy it into a document) and mark it up:
Circle the command words
Underline the key topic/concepts
Highlight the parameters and requirements
Write questions in the margins if anything is unclear
If you’re confused about what’s being asked - ASK.
Email your tutor. Go to office hours. Post in the class forum.
Getting clarity BEFORE you start is infinitely better than realising halfway through that you’ve been answering the wrong question.
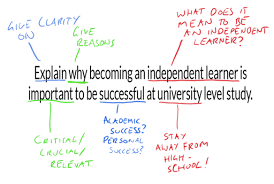
Step 4: Rewrite the Question in Your Own Words
This is a game-changer.
Take the formal assignment question and rephrase it in plain language that makes sense to you.
Original: “Critically evaluate the effectiveness of restorative justice practices in the New Zealand criminal justice system, drawing on at least two specific case studies.”
Your version: “Does restorative justice actually work in NZ? Look at real examples, show what works and what doesn’t, and back it up with evidence.”
Why this helps:
You’re checking that you actually understand what’s being asked
You’re translating academic language into something actionable
You’re creating a clear target for your brainstorming

What This Looks Like at Different Levels
Bridging/Foundation (Levels 1-3): Questions will be shorter with fewer parts, and the resources you need will often be supplied in your course readings. However, you’re encouraged to find at least one additional resource that fits your argument. At this level, you’re learning about the parts of the question and the process of breaking it down. Focus on understanding command words and identifying what’s being asked.
Undergraduate (Levels 4-7): This is where it becomes critical to highlight and annotate every part of the question so you're fully aware of what’s being asked. Questions may have multiple parts requiring different approaches - one section might ask you to “explain” while another asks you to “critically evaluate.” Set readings provide your foundation, but it’s essential to develop your research skills by finding additional sources that offer different perspectives or angles on your argument. You're building the ability to synthesise multiple viewpoints.
Postgraduate (Levels 8-10): You now devise your own research questions and locate all your own resources specific to the argument you’re making. Your questions need to be refined enough to be answerable within your word count/timeframe, but broad enough to make a meaningful contribution to your field. You’re expected to engage with current scholarly debates, identify gaps in existing research, and position your work within a theoretical framework. At this level, you’re not just answering questions - you’re determining what questions are worth asking and why they matter.
The skill you’re building: Reading comprehension for academic tasks. This skill transfers to every professional context - understanding what’s being asked before you start working.
PART 2: POST-IT - BRAINSTORM AND ORGANISE
Now That You Know What You’re Doing... Get Messy
You understand the question. You know what’s expected.
Now it’s time to get everything out of your head.
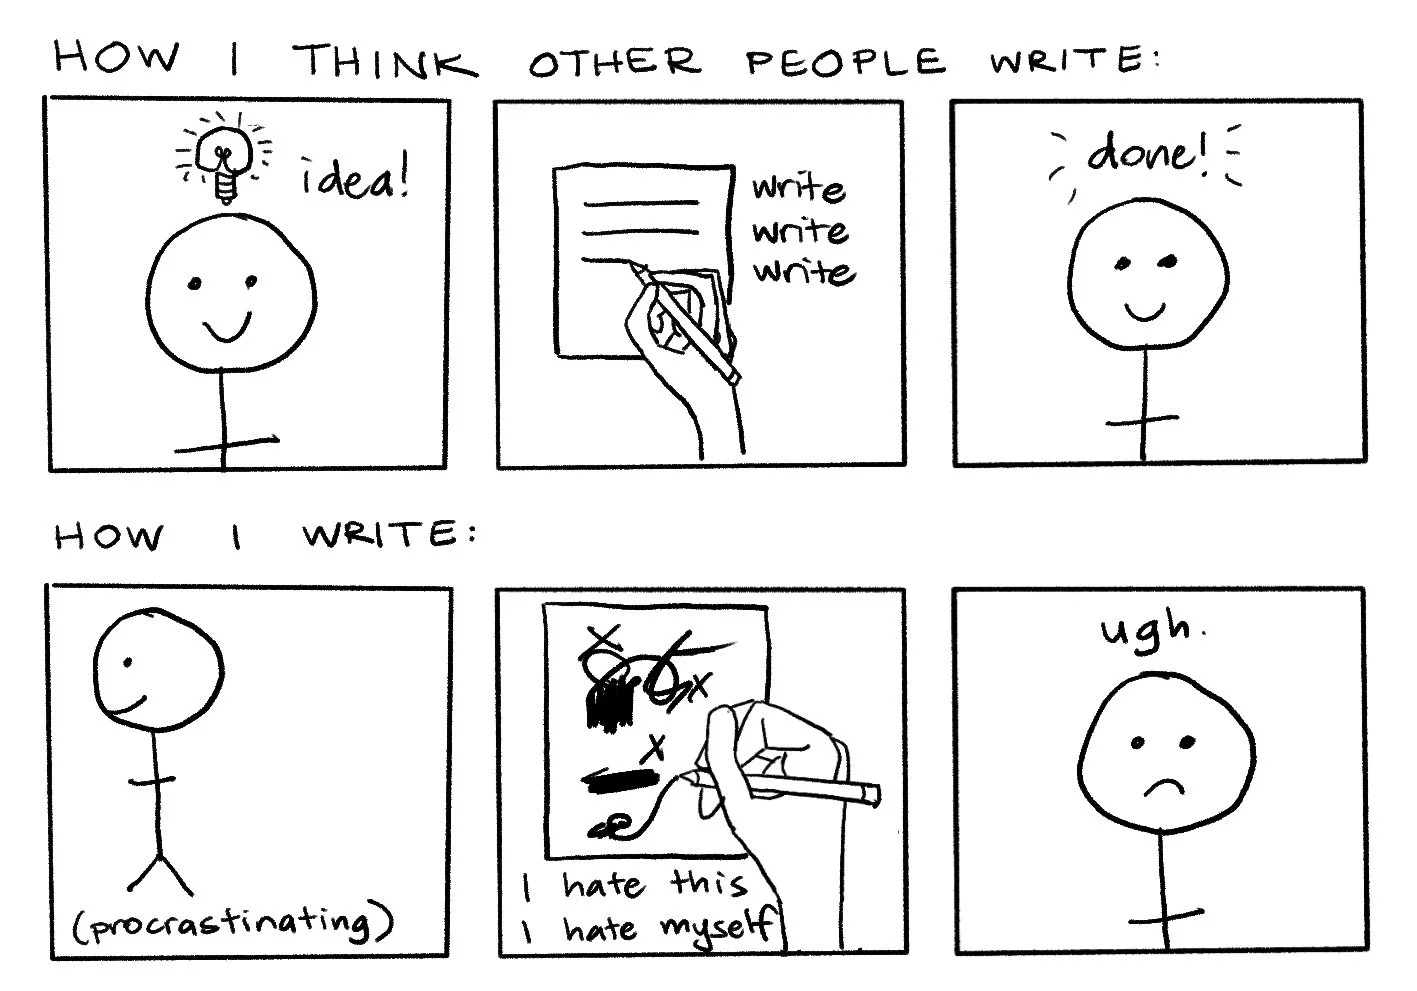
DO NOT start writing your assignment yet.
If you start writing before you’ve organised your thoughts, you’ll end up with a rambling mess that you have to completely restructure later.
Trust me - I’ve done this. Many times. It’s painful.
The POST-IT Method: Brain Dump First, Organise Later
Here’s the process:
Brain dump everything you know (or think you know) about the topic
Group related ideas together
Sequence the groups into a logical flow
Identify gaps where you need more research
Create your argument structure from the organised groups
Why post-its (physical or digital)?
Each idea is separate and moveable
You can rearrange without rewriting
You can see the big picture and the details simultaneously
It’s satisfying to move things around until they click
Tool Options for Brainstorming
Physical tools:
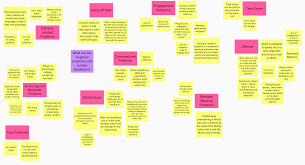
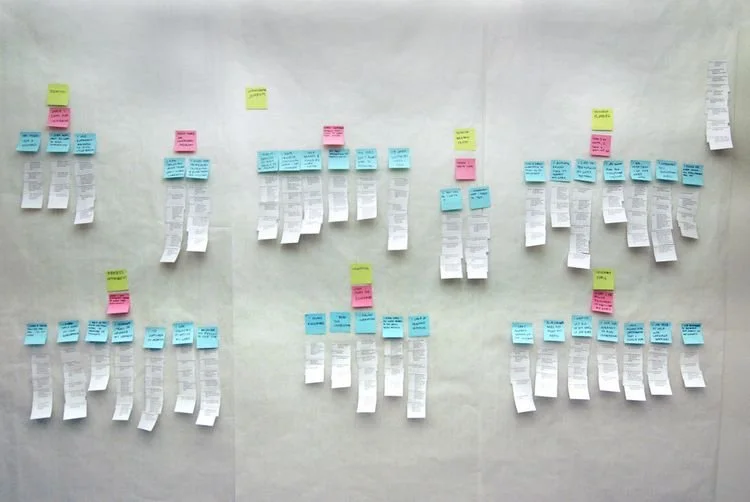
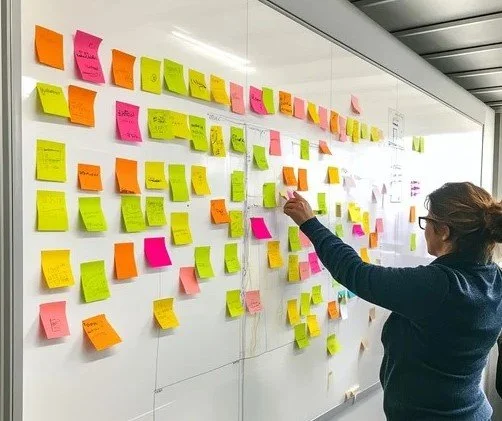
Post-it notes on a wall - classic, tactile, visible
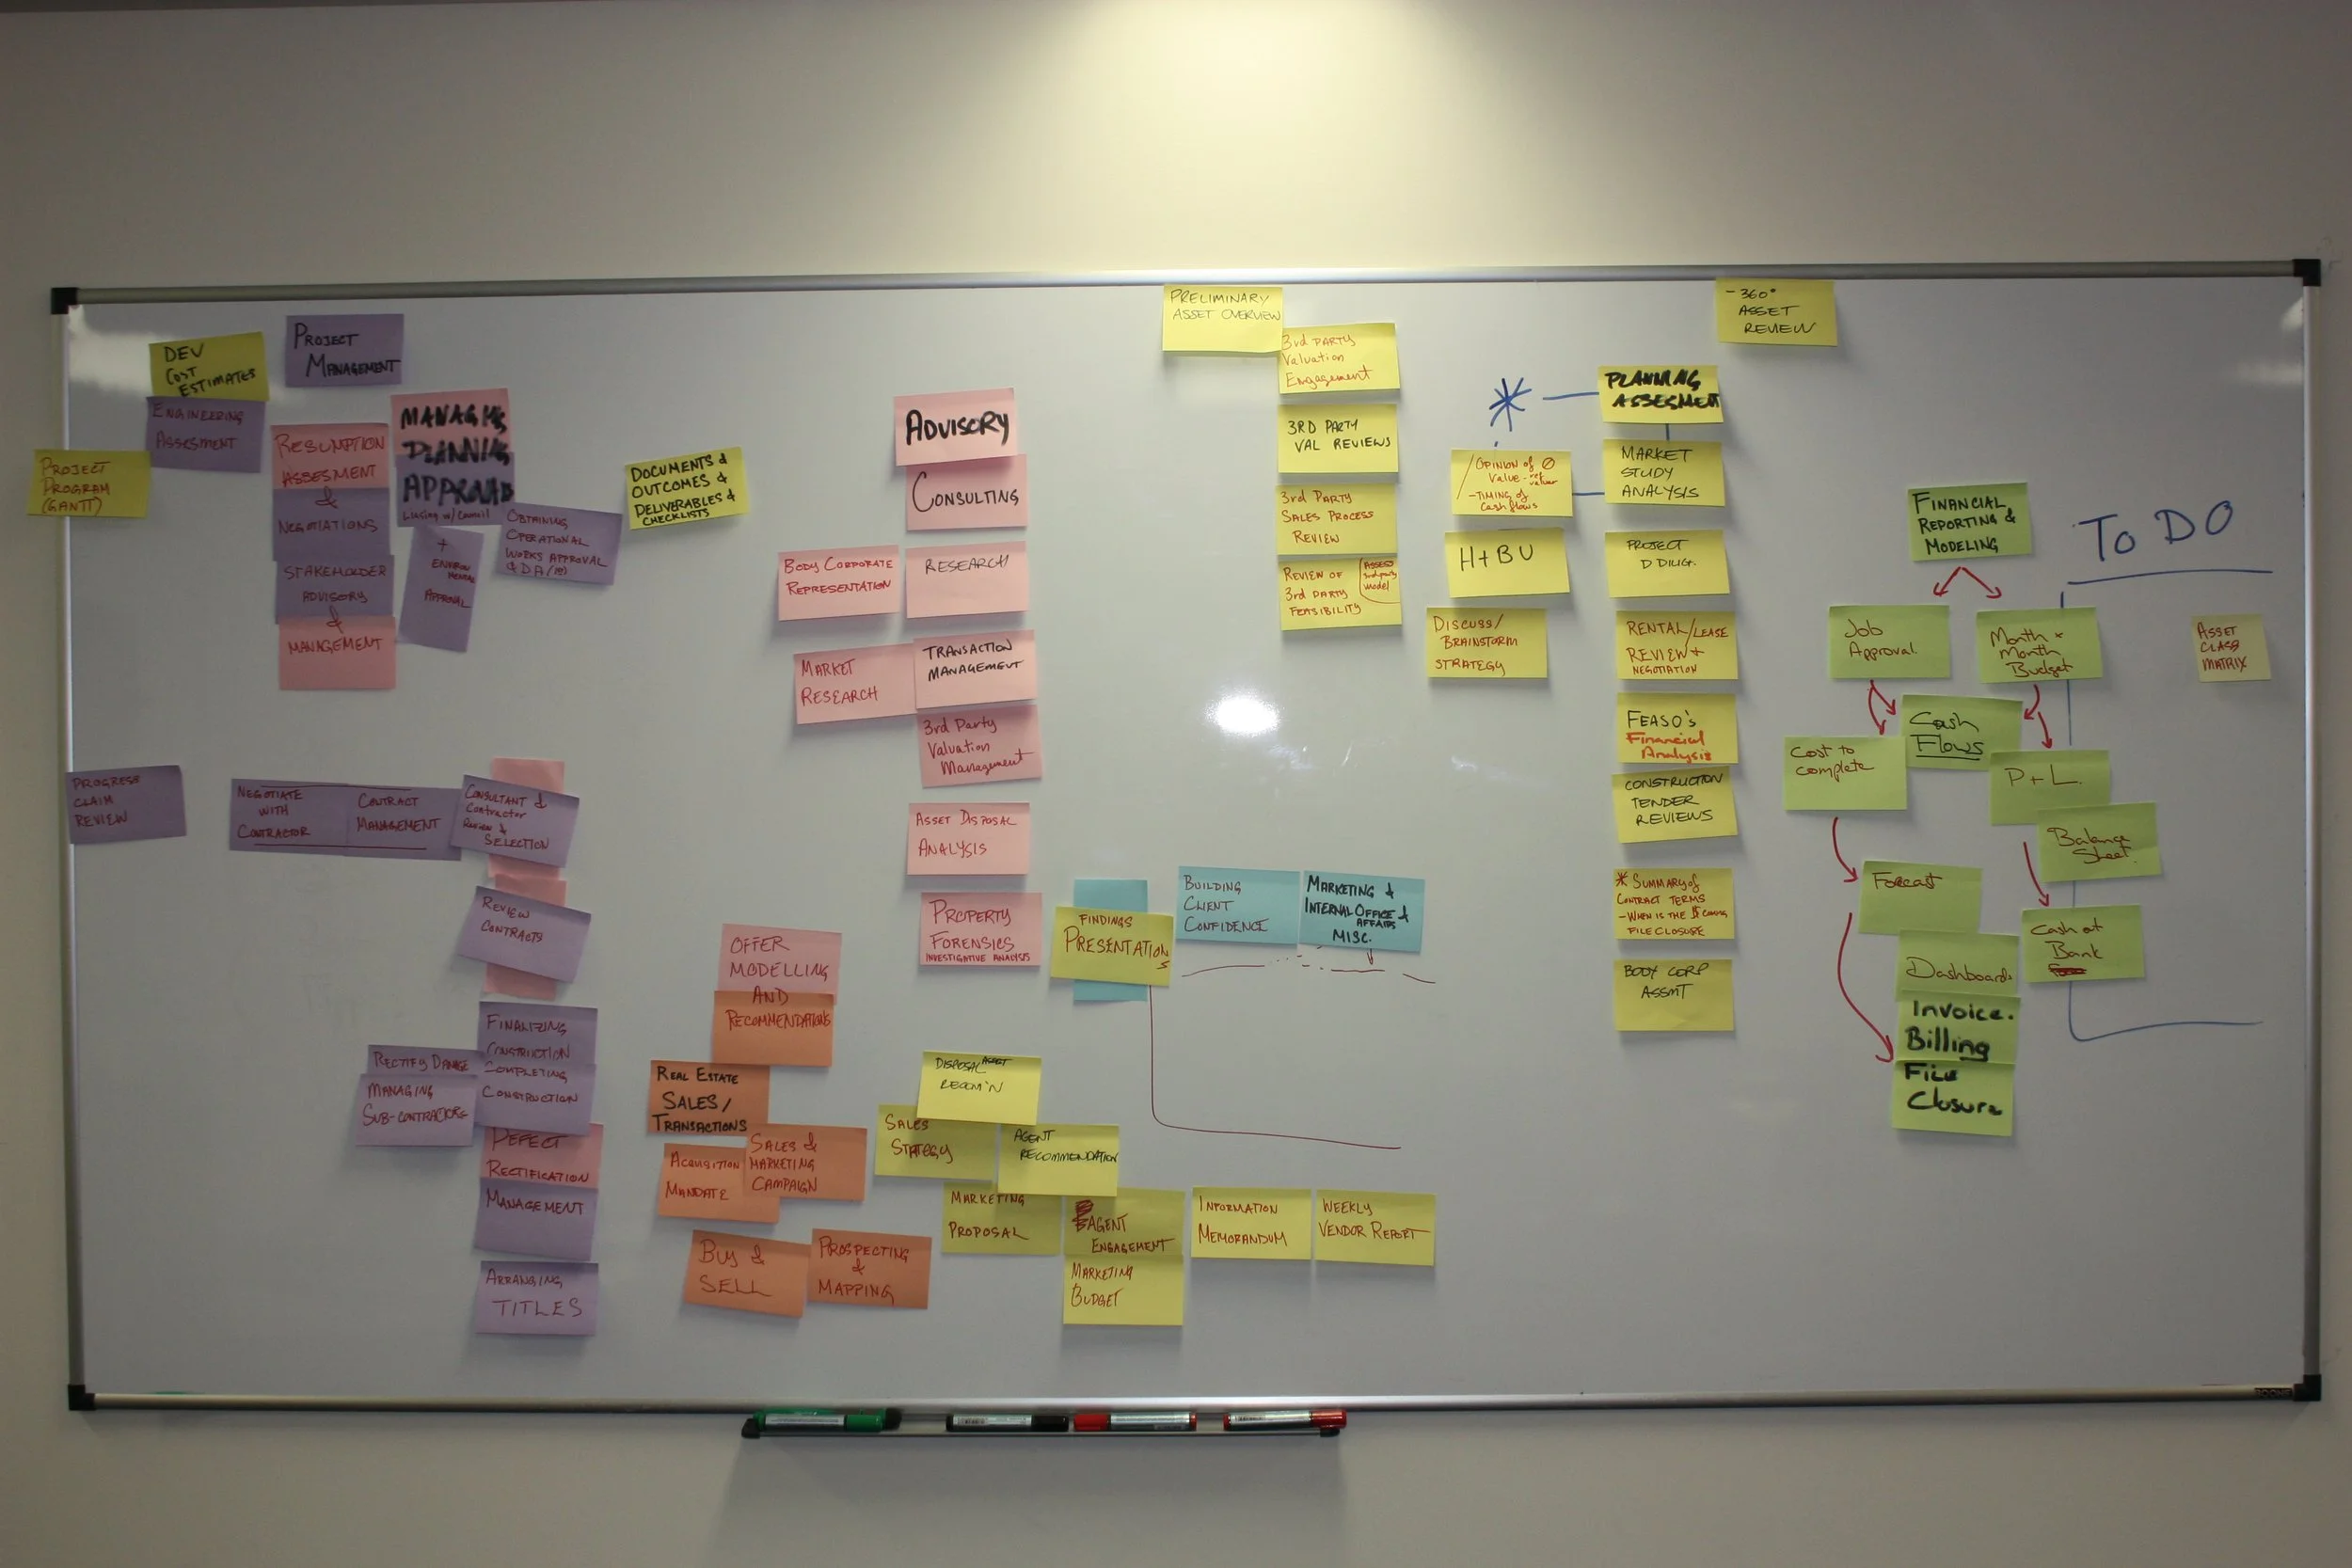
Whiteboard - great for quick sketches and mind maps
Big paper and colored markers - visual learners love this
Digital tools:
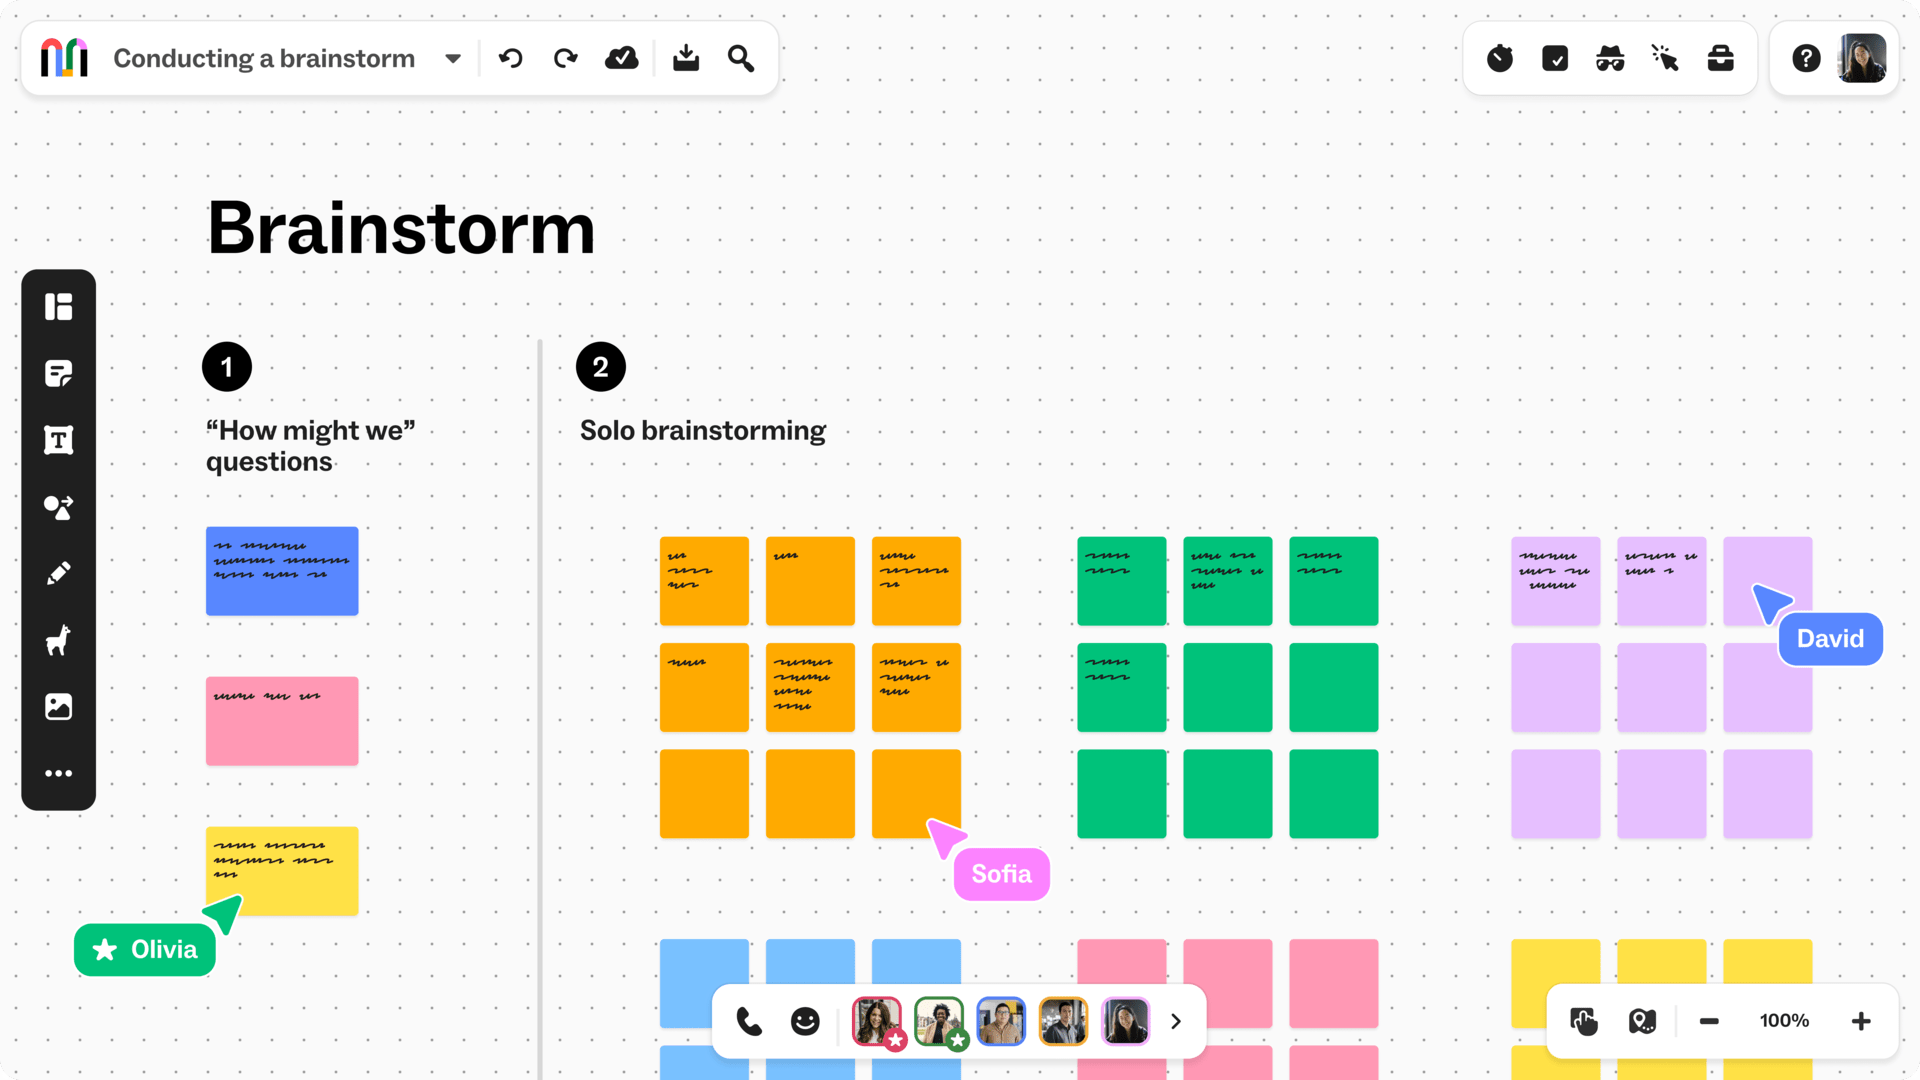
MIRO - online whiteboard, infinite canvas, templates
MURAL - similar to MIRO, great for collaboration
Google Jamboard - simple, integrates with Google suite
Notion - if you prefer database/list views
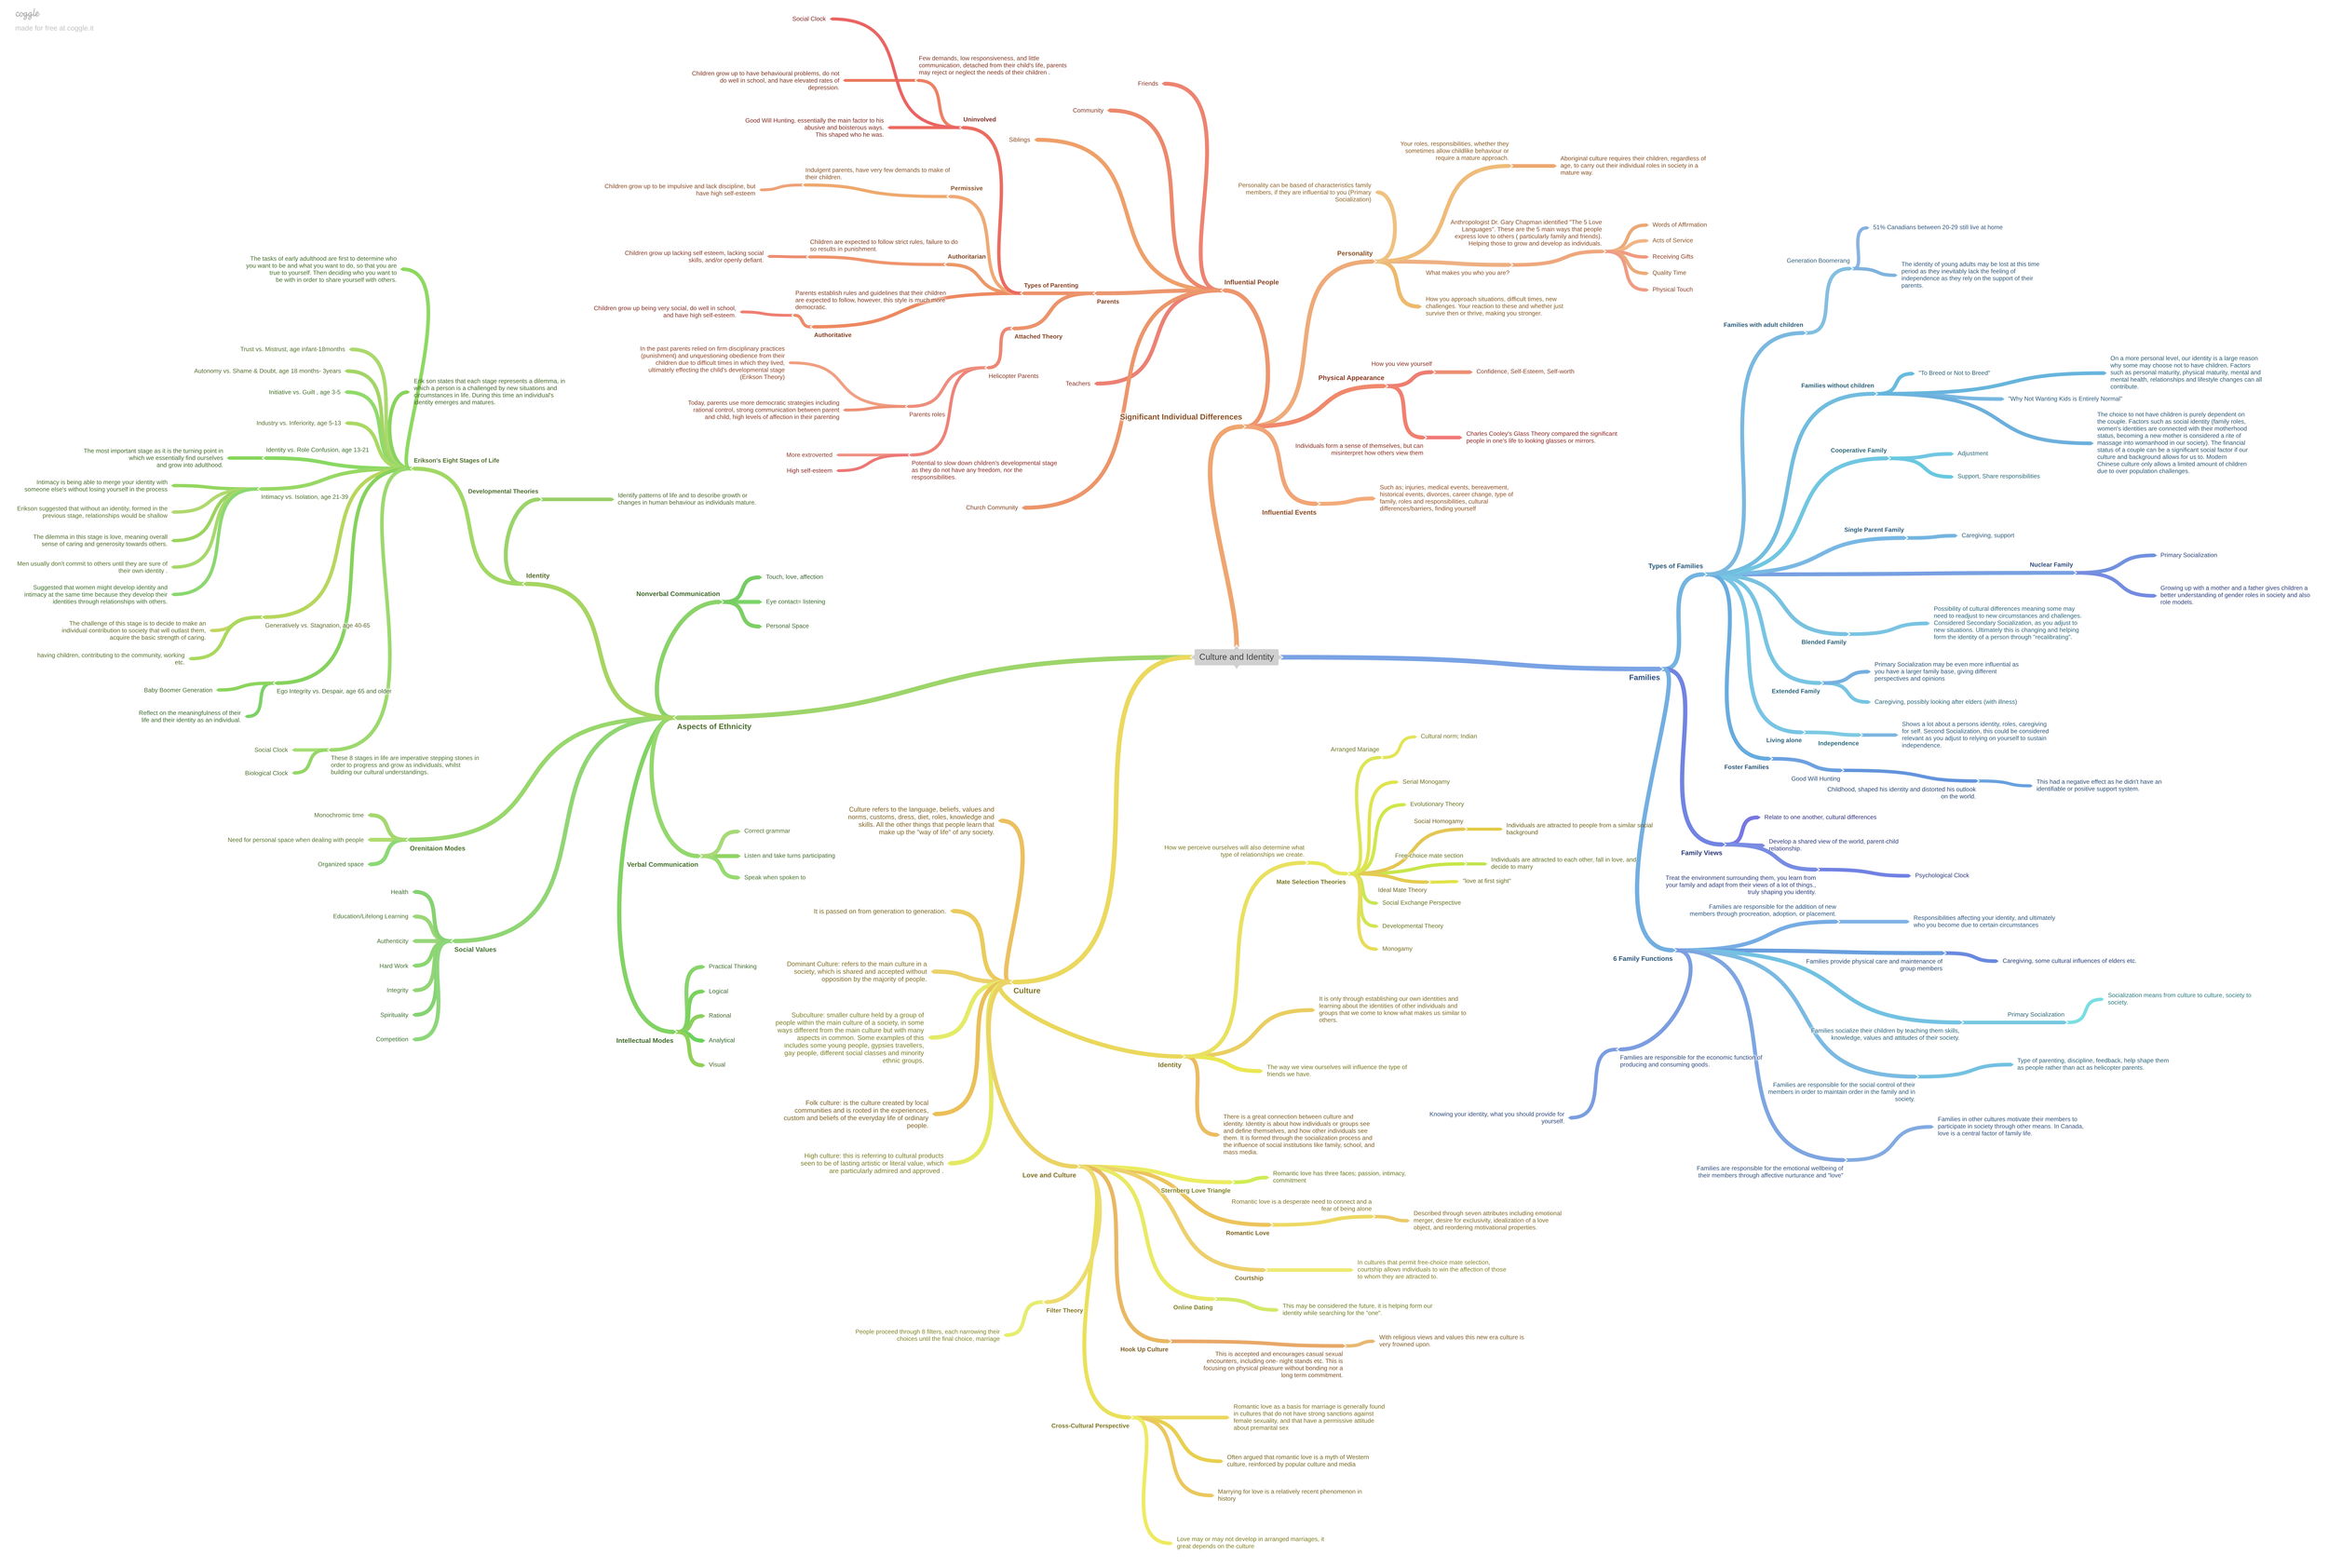
Mind mapping apps (MindMeister, Coggle, XMind)
My preference: Physical post-its for initial brain dump, then MIRO for organising and refining (especially for group projects or when I needed to share with supervisors).

Step 1: Brain Dump (No Judgment, No Order)
Set a timer for 10-15 minutes. Write down EVERYTHING related to your topic:
Facts you remember from readings
Examples you can think of
Questions you have
Arguments you’ve heard
Counter-arguments
Concepts that seem relevant
Authors or theories to look up
Random thoughts that might connect
One idea per post-it. Keep them short - just enough to jog your memory later.
At this stage:
Don’t worry about whether it’s “good enough”
Don’t judge the quality of your ideas
Don’t try to organise yet
Don’t censor yourself
The goal: Get your brain started. Activate what you already know. Create a foundation to build on

Step 2: Group Related Ideas
Now look at all your post-its. Start grouping things that belong together.
Common groupings:
Themes or concepts
Similar arguments
Related examples
Time periods (if doing historical analysis)
Different perspectives on the same issue
Evidence supporting similar points
You’ll probably end up with 3-7 main groups. If you have more, see if some can be combined. If you have fewer, that’s okay - your argument might be more focused.
Label each group with a heading that captures the main idea.
Example (using that restorative justice question):
Group 1: What is restorative justice? (definitions, principles, history in NZ)
Group 2: Case Study 1 - [specific example] (what happened, outcomes, analysis)
Group 3: Case Study 2 - [specific example] (what happened, outcomes, analysis)
Group 4: What works well (evidence of effectiveness, positive outcomes)
Group 5: What doesn’t work / limitations (challenges, criticisms, failures)
Group 6: Overall evaluation (weighing up the evidence, your conclusion)

Step 3: Sequence Your Groups into Logical Flow
Now you need to decide: what order should these groups go in?
Common structures:
Chronological (if doing historical analysis):
What happened first → what happened next → what happened after that
Problem-Solution (if addressing an issue):
Define the problem → explain causes → propose solutions → evaluate effectiveness
Compare-Contrast (if analysing multiple things):
Introduce both → similarities → differences → which is better/why
Argument-Building (if making a case):
Context/background → evidence supporting your claim → counter-arguments → refutation → conclusion
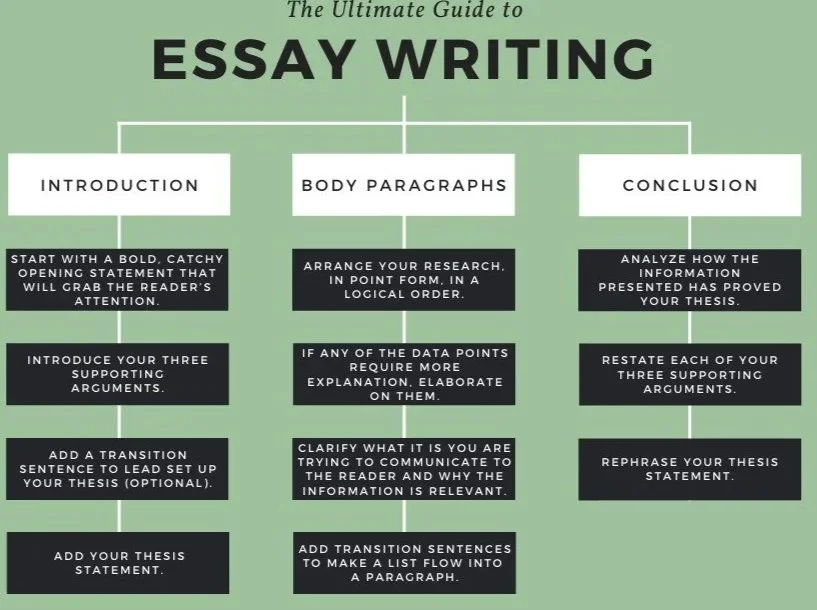
For academic essays, a common flow is:
Introduction (context, question, your argument)
Background/definitions (what readers need to know)
Main body (your evidence and analysis, grouped thematically)
Counter-arguments or limitations
Conclusion (answer the question, so what?)
Move your post-it groups around until the flow makes sense. Read through the headings in order - does one lead naturally to the next?
Step 4: Identify Gaps
Look at your organised groups. Where are the holes?
Questions to ask:
Do I have enough evidence for each point?
Are there any claims I’m making without support?
Have I addressed counter-arguments?
Do I need more examples?
Am I missing any key concepts or theories I should include?
Have I actually answered the question, or just talked around it?
Make a research list: What specific things do you need to look up or read before you can write?
This is where you go back to the library, databases, or readings. But now you’re researching with PURPOSE - you know exactly what gaps you're trying to fill.
Step 5: Create Your Argument Structure
You’ve grouped your ideas. You’ve sequenced them. You’ve identified what’s missing.
Now create a simple outline from your organised post-its.
This becomes your roadmap for writing.
Example outline:
I. Introduction
Hook: recent news story about restorative justice
Context: what is restorative justice, why it matters in NZ
Thesis: While restorative justice shows promise in some contexts, its effectiveness depends heavily on [specific factors]
II. Background
Definition of restorative justice
Key principles
How it’s used in NZ criminal justice system
III. Case Study 1: [Specific example]
What happened
How restorative justice was applied
Outcomes (positive and negative)
Analysis using criteria for “effectiveness”
IV. Case Study 2: [Specific example]
What happened
How restorative justice was applied
Outcomes (positive and negative)
Analysis using criteria for “effectiveness”
V. What Works / Strengths
Evidence from case studies
Research supporting effectiveness
Specific conditions where it succeeds
VI. What Doesn't Work / Limitations
Challenges identified in case studies
Criticisms from research
Situations where it fails
VII. Conclusion
Answer the question: Is restorative justice effective in NZ?
Nuanced answer: Yes, when [conditions], but not when [other conditions]
Implications: What does this mean for policy/practice?
Your Turn: Action Steps
Take your next assignment question and break it down using the demystifying process
Rewrite the question in your own words and check with your tutor if you’re unsure
Choose a brainstorming tool (post-its, whiteboard, MIRO) and give it a go
Set a timer for 15 minutes and brain dump everything you know about your topic
Group your ideas into themes
Sequence the groups into a logical flow
Identify gaps and make a research list
Knowledge Nuggets:
Understanding the question is 50% of the work. Get this right, and everything else is easier.
Brainstorming isn’t wasting time - it’s saving you from rewriting your entire assignment later.
Messy thinking is normal. Organisation comes from working WITH the mess, not avoiding it.
Your first structure won’t be your final structure. Let it evolve as you learn more.
If you can’t organise your ideas before writing, you definitely can’t organise them while writing.
In Lesson 2, we'll take your organised ideas and turn them into actual paragraphs using the TEEEE structure and Academic Phrasebank.
Mauri tū, Mauri ora!
-
Add a short summary or a list of helpful resources here.