Chapter 2: Academic Writing

The Diamond in the Rough
You’ve written your first draft.
You followed TEEEE structure.
You got your ideas down on paper.
And now you’re reading it back thinking: “This is... not great.”
Good. That’s exactly where you should be.
Your first draft was never supposed to be perfect. It was supposed to GET YOUR THOUGHTS OUT. Now comes the part where you turn those rough thoughts into polished, submission-ready work.
This is editing. And editing is where average assignments become excellent ones.
Here’s the truth: professional writers spend MORE time editing than writing. Your first draft is maybe 40% of the work. The other 60%? That’s all editing.
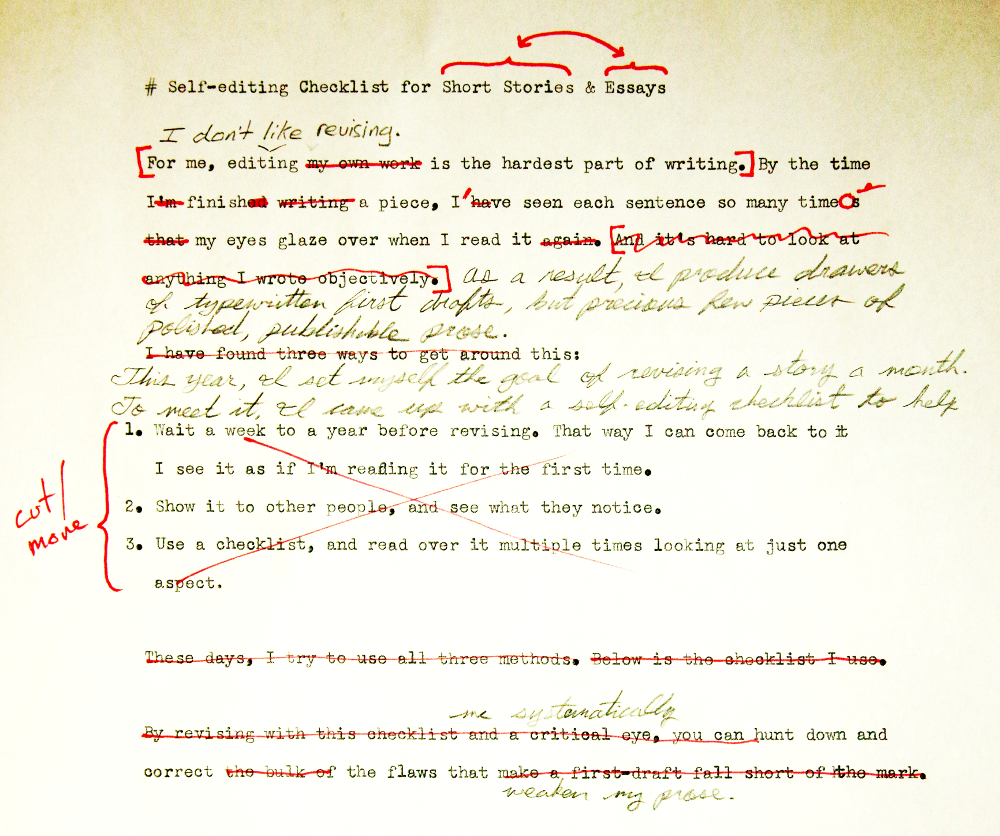
The Editing Mindset: You’re a Sculptor Now
Writing the first draft is like getting a big block of marble.
Editing is chipping away everything that doesn’t belong until you reveal the sculpture inside.
You’re not starting over.
You’re refining what’s already there.
And here’s the key: you can’t write and edit at the same time. Your brain needs to be in different modes for each task.
Writing mode: Get it out, don’t judge, keep moving forward
Editing mode: Question everything, tighten it up, make it better
That’s why we draft first, THEN edit.
Step 1: Take a Break (Seriously)
Before you start editing, step away from your work.
Minimum break: A few hours (go for a walk, eat, do something else)
Ideal break: Overnight or 24 hours
Why this matters: You need fresh eyes. When you’ve just finished writing, your brain fills in gaps and skips over mistakes because it knows what you MEANT to say, not what you actually SAID.
After a break, you’ll spot things you missed. Sentences that made perfect sense at 11pm will look confusing in the morning. That’s exactly what you want.

Step 2: Read Your Whole Draft Without Stopping
Don’t edit anything yet. Just read.
Grab a pen and paper (or open a separate document) and note:
Big picture questions:
Does this actually answer the assignment question?
Is my argument clear and consistent throughout?
Do the sections flow logically from one to the next?
Are there any gaps in my reasoning or evidence?
Have I repeated myself unnecessarily?
Is anything missing?
Mark issues but don’t fix them yet. You’re getting an overview of what needs work before you dive into line-by-line editing.
Common issues you might spot:
“Wait, I made this point in Section 2 AND Section 4”
“This example doesn’t actually support my argument”
“I forgot to address the counter-argument”
“My conclusion contradicts what I said in the introduction”
Don’t panic. These are fixable. That’s literally what editing is for.
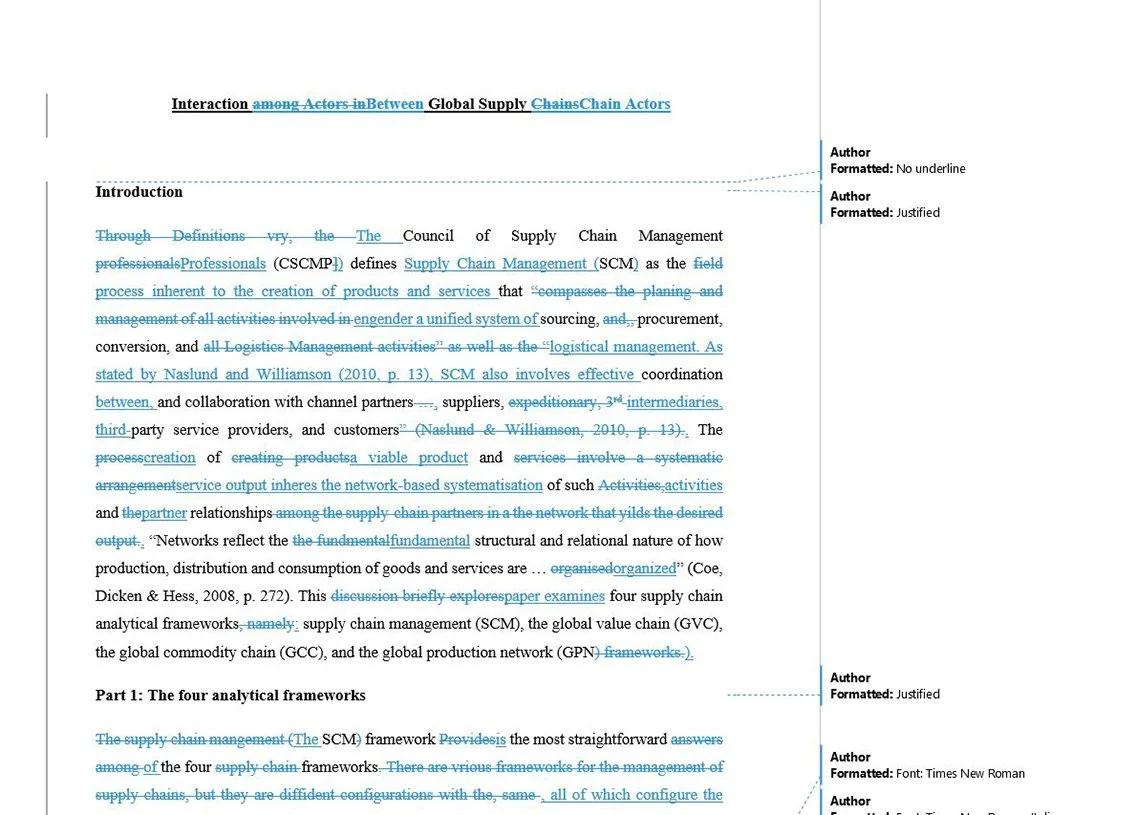
Step 3: Structural Editing - Move Things Around
Now that you’ve identified big-picture issues, it’s time to reorganise.
This is where you:
Move paragraphs to different sections if they fit better elsewhere
Delete repetitive content
Combine similar points
Add new paragraphs to fill gaps
Rearrange the order of your sections if the flow isn’t working
In Word/Google Docs:
Use the “Outline” or “Navigation Pane” view to see your headings
Drag and drop entire sections to reorder them
Use “Track Changes” so you can undo if needed
Questions to ask for each section:
Introduction:
Does it provide the necessary context?
Does it clearly state what I’m arguing?
Does it outline how I’ll make that argument?
Is it engaging enough to make someone want to keep reading?
Body paragraphs:
Does each paragraph have ONE clear main idea?
Do they follow TEEEE structure?
Do they build on each other logically?
Are they in the right order?
Conclusion:
Does it answer the assignment question clearly?
Does it summarise my key points WITHOUT just repeating the introduction?
Does it show the “so what?” - why this matters?
Does it leave the reader with something to think about?
Don’t be afraid to make big changes. Sometimes a paragraph you spent an hour writing needs to be deleted because it doesn’t actually serve your argument. That’s okay. It helped you think through the issue - but it doesn’t need to be in the final version.
Step 4: Paragraph-Level Editing - Refine Each Section
Now go through paragraph by paragraph and tighten them up.
For each paragraph, check:
Topic sentence:
Is it clear what this paragraph is about?
Does it connect to my overall argument?
Could I make it more specific or precise?
Explanation:
Have I actually explained WHY this matters?
Is my reasoning clear?
Am I assuming the reader knows something they might not?
Evidence:
Is my evidence actually relevant to this point?
Have I cited it correctly?
Do I need more evidence, or is this sufficient?
Am I just describing what the source says, or am I engaging with it?
Example:
Is this example concrete and specific?
Does it clearly illustrate my point?
Could I use a better example?
Evaluation:
Have I shown how this paragraph supports my argument?
Does it transition smoothly to the next paragraph?
Am I just summarising, or am I analysing?
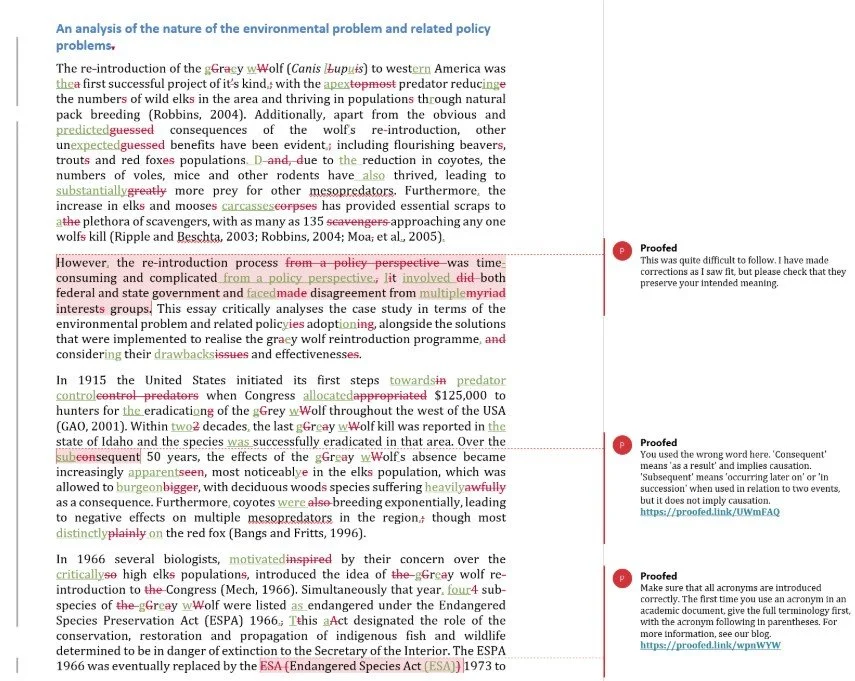
Step 5: Sentence-Level Editing - Make Every Word Count
Now we get into the nitty-gritty: making your sentences clear, concise, and powerful.
Read each sentence and ask:
Is it clear?
Would someone unfamiliar with the topic understand this?
Am I using jargon without explaining it?
Is the sentence structure confusing?
Is it concise?
Can I say this in fewer words without losing meaning?
Am I being repetitive?
Are there filler words I can cut?
Is it precise?
Am I being vague when I could be specific?
Could I use a stronger verb or more accurate noun?
Am I hedging too much? (“perhaps, possibly, maybe, might”)
Common Sentence Issues and Fixes
❌ Passive voice (when active is better):
Before: Restorative justice was implemented by the court system.
After: The court system implemented restorative justice.
Why change it: Active voice is clearer and more direct. Passive voice obscures WHO is doing WHAT.
When passive is okay: When the actor doesn’t matter or is unknown: “The policy was introduced in 2015.”
❌ Unnecessarily complex wording:
Before: Due to the fact that restorative justice utilises a collaborative approach, it is more effective in terms of reducing recidivism.
After: Because restorative justice uses collaboration, it reduces reoffending more effectively.
Why change it: Academic writing should be clear, not complicated. Don’t use 10 words when 5 will do.
❌ Vague language:
Before: Many studies show that this approach works quite well in some situations.
After: Three recent meta-analyses demonstrate that restorative justice reduces reoffending by 14-18% when applied to youth offenders (Smith, 2019; Jones, 2020; Brown, 2021).
Why change it: Be specific. Quantify when possible. Cite your sources.
❌ Repetitive phrasing:
Before: Restorative justice is effective because restorative justice involves victims and offenders in dialogue, and this dialogue in restorative justice leads to better outcomes.
After: Restorative justice is effective because it involves victims and offenders in dialogue, leading to better outcomes.
Why change it: Repeating the same words is clunky. Use pronouns or restructure to avoid repetition.
❌ Run-on sentences:
Before: Restorative justice has been used in New Zealand since the 1980s and it focuses on repairing harm and it involves community members and it has shown promising results in reducing reoffending rates particularly among young offenders.
After: New Zealand has used restorative justice since the 1980s. It focuses on repairing harm through community involvement and has shown promising results, particularly in reducing youth reoffending rates.
Why change it: Break long sentences into shorter ones for clarity. Each sentence should make ONE clear point.
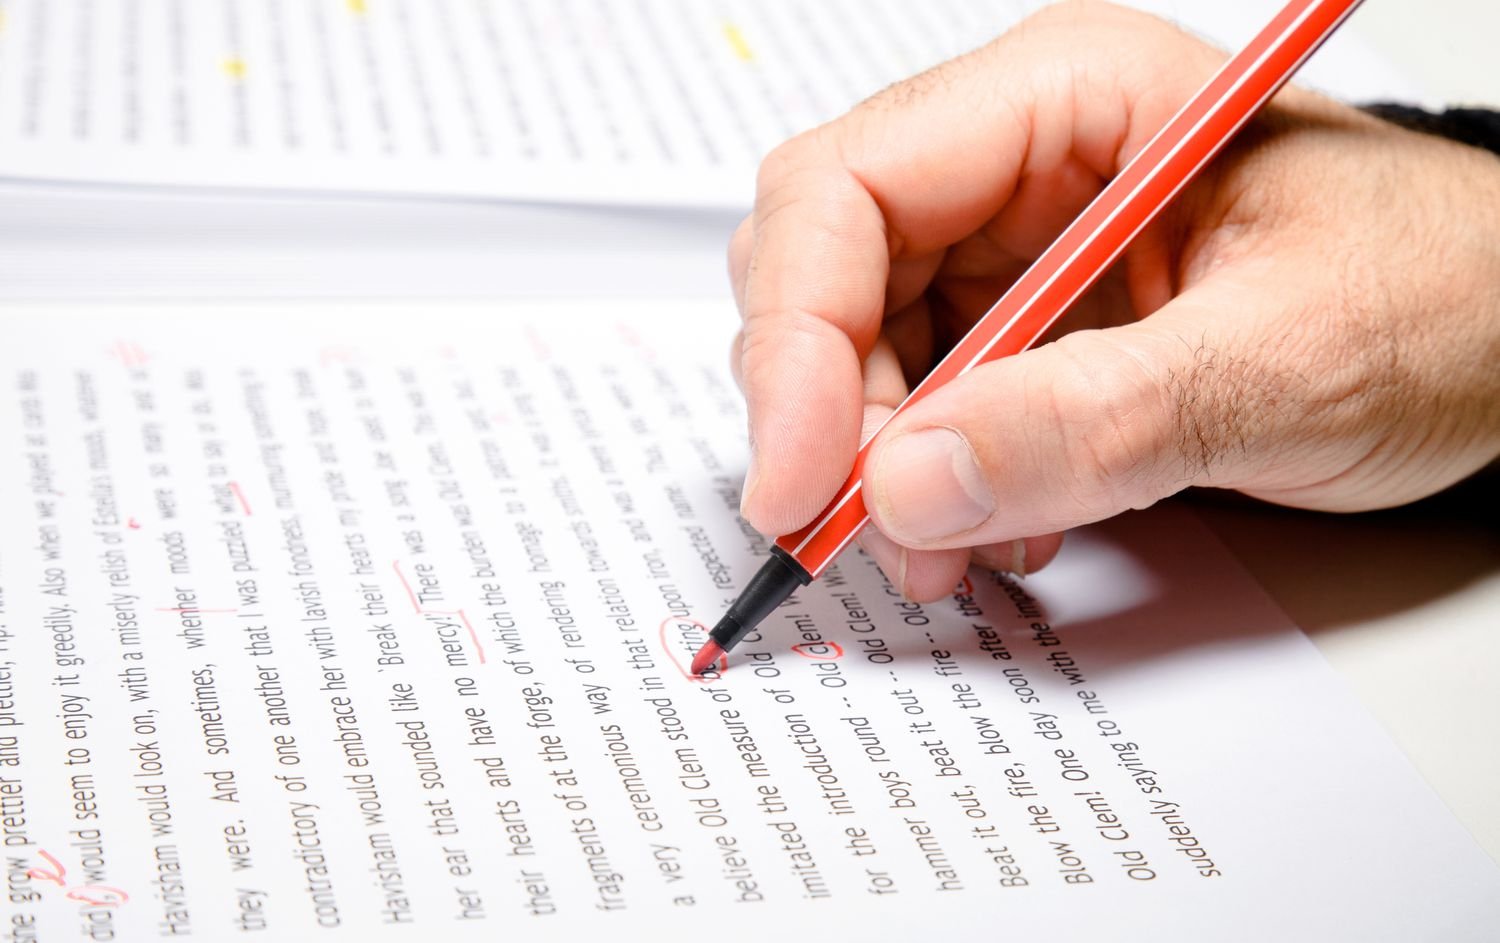
Step 6: Proofread Out Loud
This is THE most effective editing technique I know.
Read your entire assignment OUT LOUD.
Why this works:
You catch awkward phrasing your eyes skip over when reading silently
You notice where you run out of breath = sentence is too long
You hear repetitive words or clunky transitions
You find missing words or grammatical errors
You can tell if your argument actually makes sense when spoken
What to listen for:
Does it flow naturally?
Are there sentences where you stumble?
Does anything sound odd or overly complicated?
Are you bored reading it? (If so, your reader will be too)
If something sounds weird, fix it. Trust your ear.

Step 7: Check Your References and Formatting
This is tedious but essential. You can lose marks for formatting errors even if your content is brilliant.
Check EVERY reference:
In-text citations:
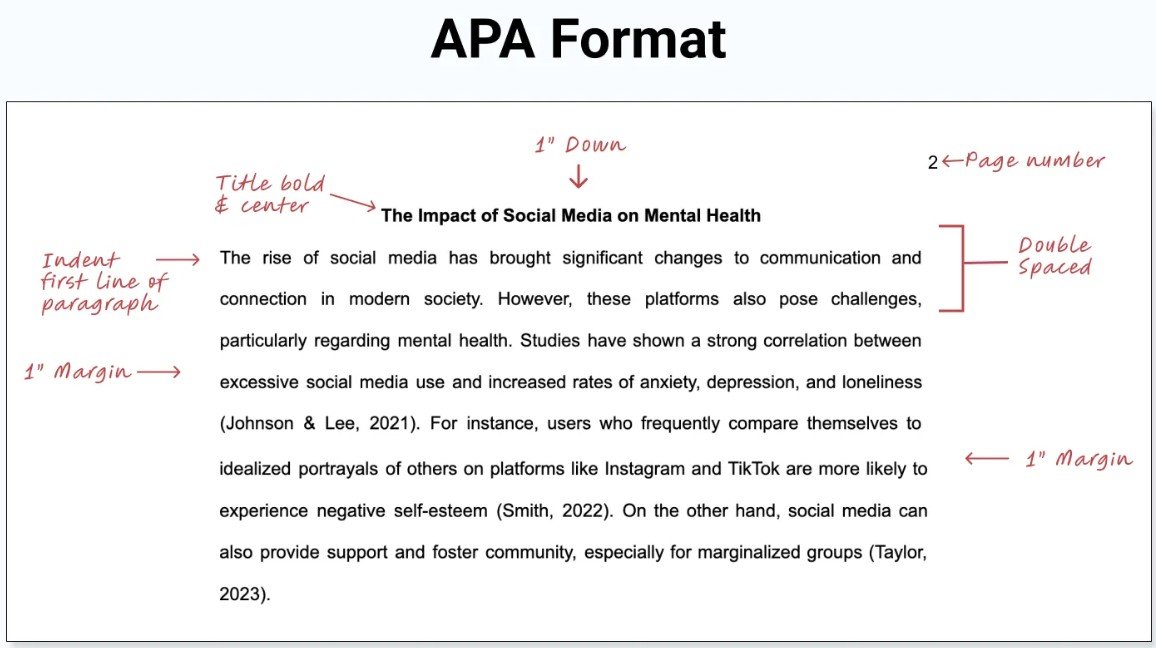
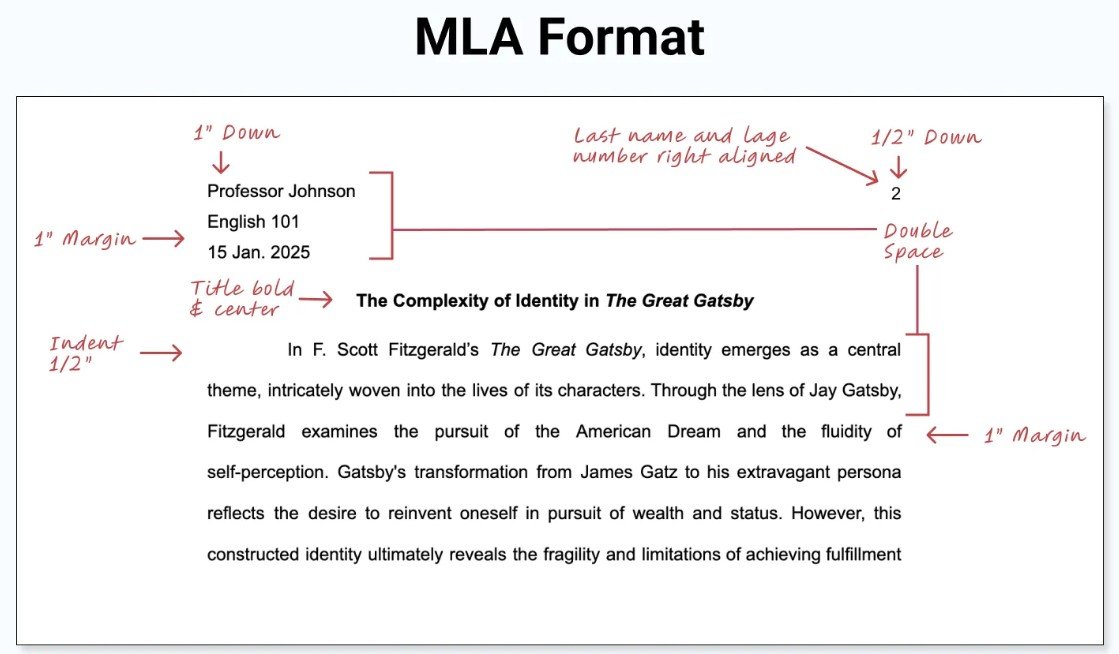
Are they in the correct format for your referencing style? (APA, Harvard, Chicago, etc.)
Have you cited EVERY idea/fact/quote that isn’t your own?
Are your citations accurate? (Correct year, page numbers if required, etc.)
Reference list:
Is every in-text citation in your reference list?
Is every reference list entry cited in your text?
Are they in alphabetical order?
Is the formatting consistent?
Are you using the correct format for each source type? (book vs journal article vs website)
Use reference management tools:
Zotero (free, open-source)
Mendeley (free)
EndNote (usually available through university libraries)
These tools automatically format your references correctly and update your reference list as you write. Life-saver.
Check formatting requirements:
Font type and size (usually Times New Roman 12pt or Arial 11pt)
Line spacing (usually 1.5 or double-spaced)
Margins (usually 2.5cm all around)
Page numbers
Header with your name/student ID (if required)
Word count (and whether footnotes/references count toward it)
Read the assignment guidelines again to make sure you haven’t missed anything.
Step 8: Final Quality Checks
Before you submit, run through this checklist:
Content:
I’ve answered the assignment question
My argument is clear and consistent
I’ve provided evidence for all claims
I’ve addressed counter-arguments or limitations
My introduction and conclusion align
Structure:
Paragraphs follow TEEEE structure
Sections flow logically
Transitions are smooth
Headings are clear (if using them)
Language:
Sentences are clear and concise
I’ve avoided jargon or explained it when necessary
Tone is appropriately academic
No spelling or grammar errors
Formatting:
Correct referencing style used throughout
All sources cited in-text AND in reference list
Formatting requirements met (font, spacing, margins)
Word count within acceptable range
File named correctly (usually: StudentID_AssignmentName.docx)
Tools That Help With Editing
Grammarly (free and paid versions):
Catches grammar and spelling errors
Suggests clarity improvements
Flags wordiness and passive voice
Caveat: Don’t accept every suggestion blindly. YOU know your argument best.
Hemingway Editor (free online):
Highlights complex sentences
Identifies passive voice
Suggests simpler alternatives
Great for tightening up your writing
Text-to-speech:
Most computers/phones have built-in text-to-speech
Have your device read your work to you - check out Speechify
You’ll hear errors you’d miss reading silently
Print it out:
Reading on paper feels different than reading on screen
You catch different errors
You can physically mark it up with a pen
Get a friend to read it:
Fresh eyes catch things you've become blind to
They’ll tell you if something doesn’t make sense
Even just explaining your argument to someone helps clarify it
The “Good Enough” Moment
Here’s something nobody tells you: there’s a point where more editing makes it worse, not better.
You can over-edit. You can tinker endlessly, changing words back and forth, second-guessing yourself into paralysis.
How do you know when it's ready?
You’ve answered the assignment question clearly
Your argument is sound and well-supported
The structure is logical
The writing is clear and precise
You’ve fixed all obvious errors
You’ve read it out loud and it flows well
At that point: submit it.
Perfection doesn't exist. “Good enough” is actually excellent when you’ve put in solid drafting and editing work.
Release it into the world and move on to the next thing.


Your Turn: Action Steps
Take a break from your draft (minimum 4 hours, ideally overnight)
Read through without editing and note big-picture issues
Reorganise sections if needed for better flow
Go through paragraph by paragraph checking TEEEE structure
Tighten up sentences - cut unnecessary words, fix passive voice, clarify vague language
Read your entire assignment out loud and fix anything that sounds awkward
Check all citations and formatting against assignment requirements
Run through the final quality checklist
Submit with confidence!
Knowledge Nuggets:
Editing is where good work becomes great work. Don’t skip it.
Fresh eyes catch more errors - always take a break before editing.
Start with big structural issues, then move to sentence-level, then proofread.
Reading out loud is the single most effective editing technique.
Know when to stop. Perfect is the enemy of done.
You’ve now completed the full assessment process:
POST-IT (brainstorm and organise)
WRITE IT (structure and draft)
EDIT IT (refine and perfect)
This process works from Level 1 to Level 10. The complexity of your ideas will grow, but the process stays the same.
Mauri tū, Mauri ora!
-
Add a short summary or a list of helpful resources here.