Chapter 2: Academic Writing
From Chaos to Clarity
You’ve broken down the assignment question.
You’ve brainstormed.
You’ve organised your ideas into logical groups.
You have an outline.
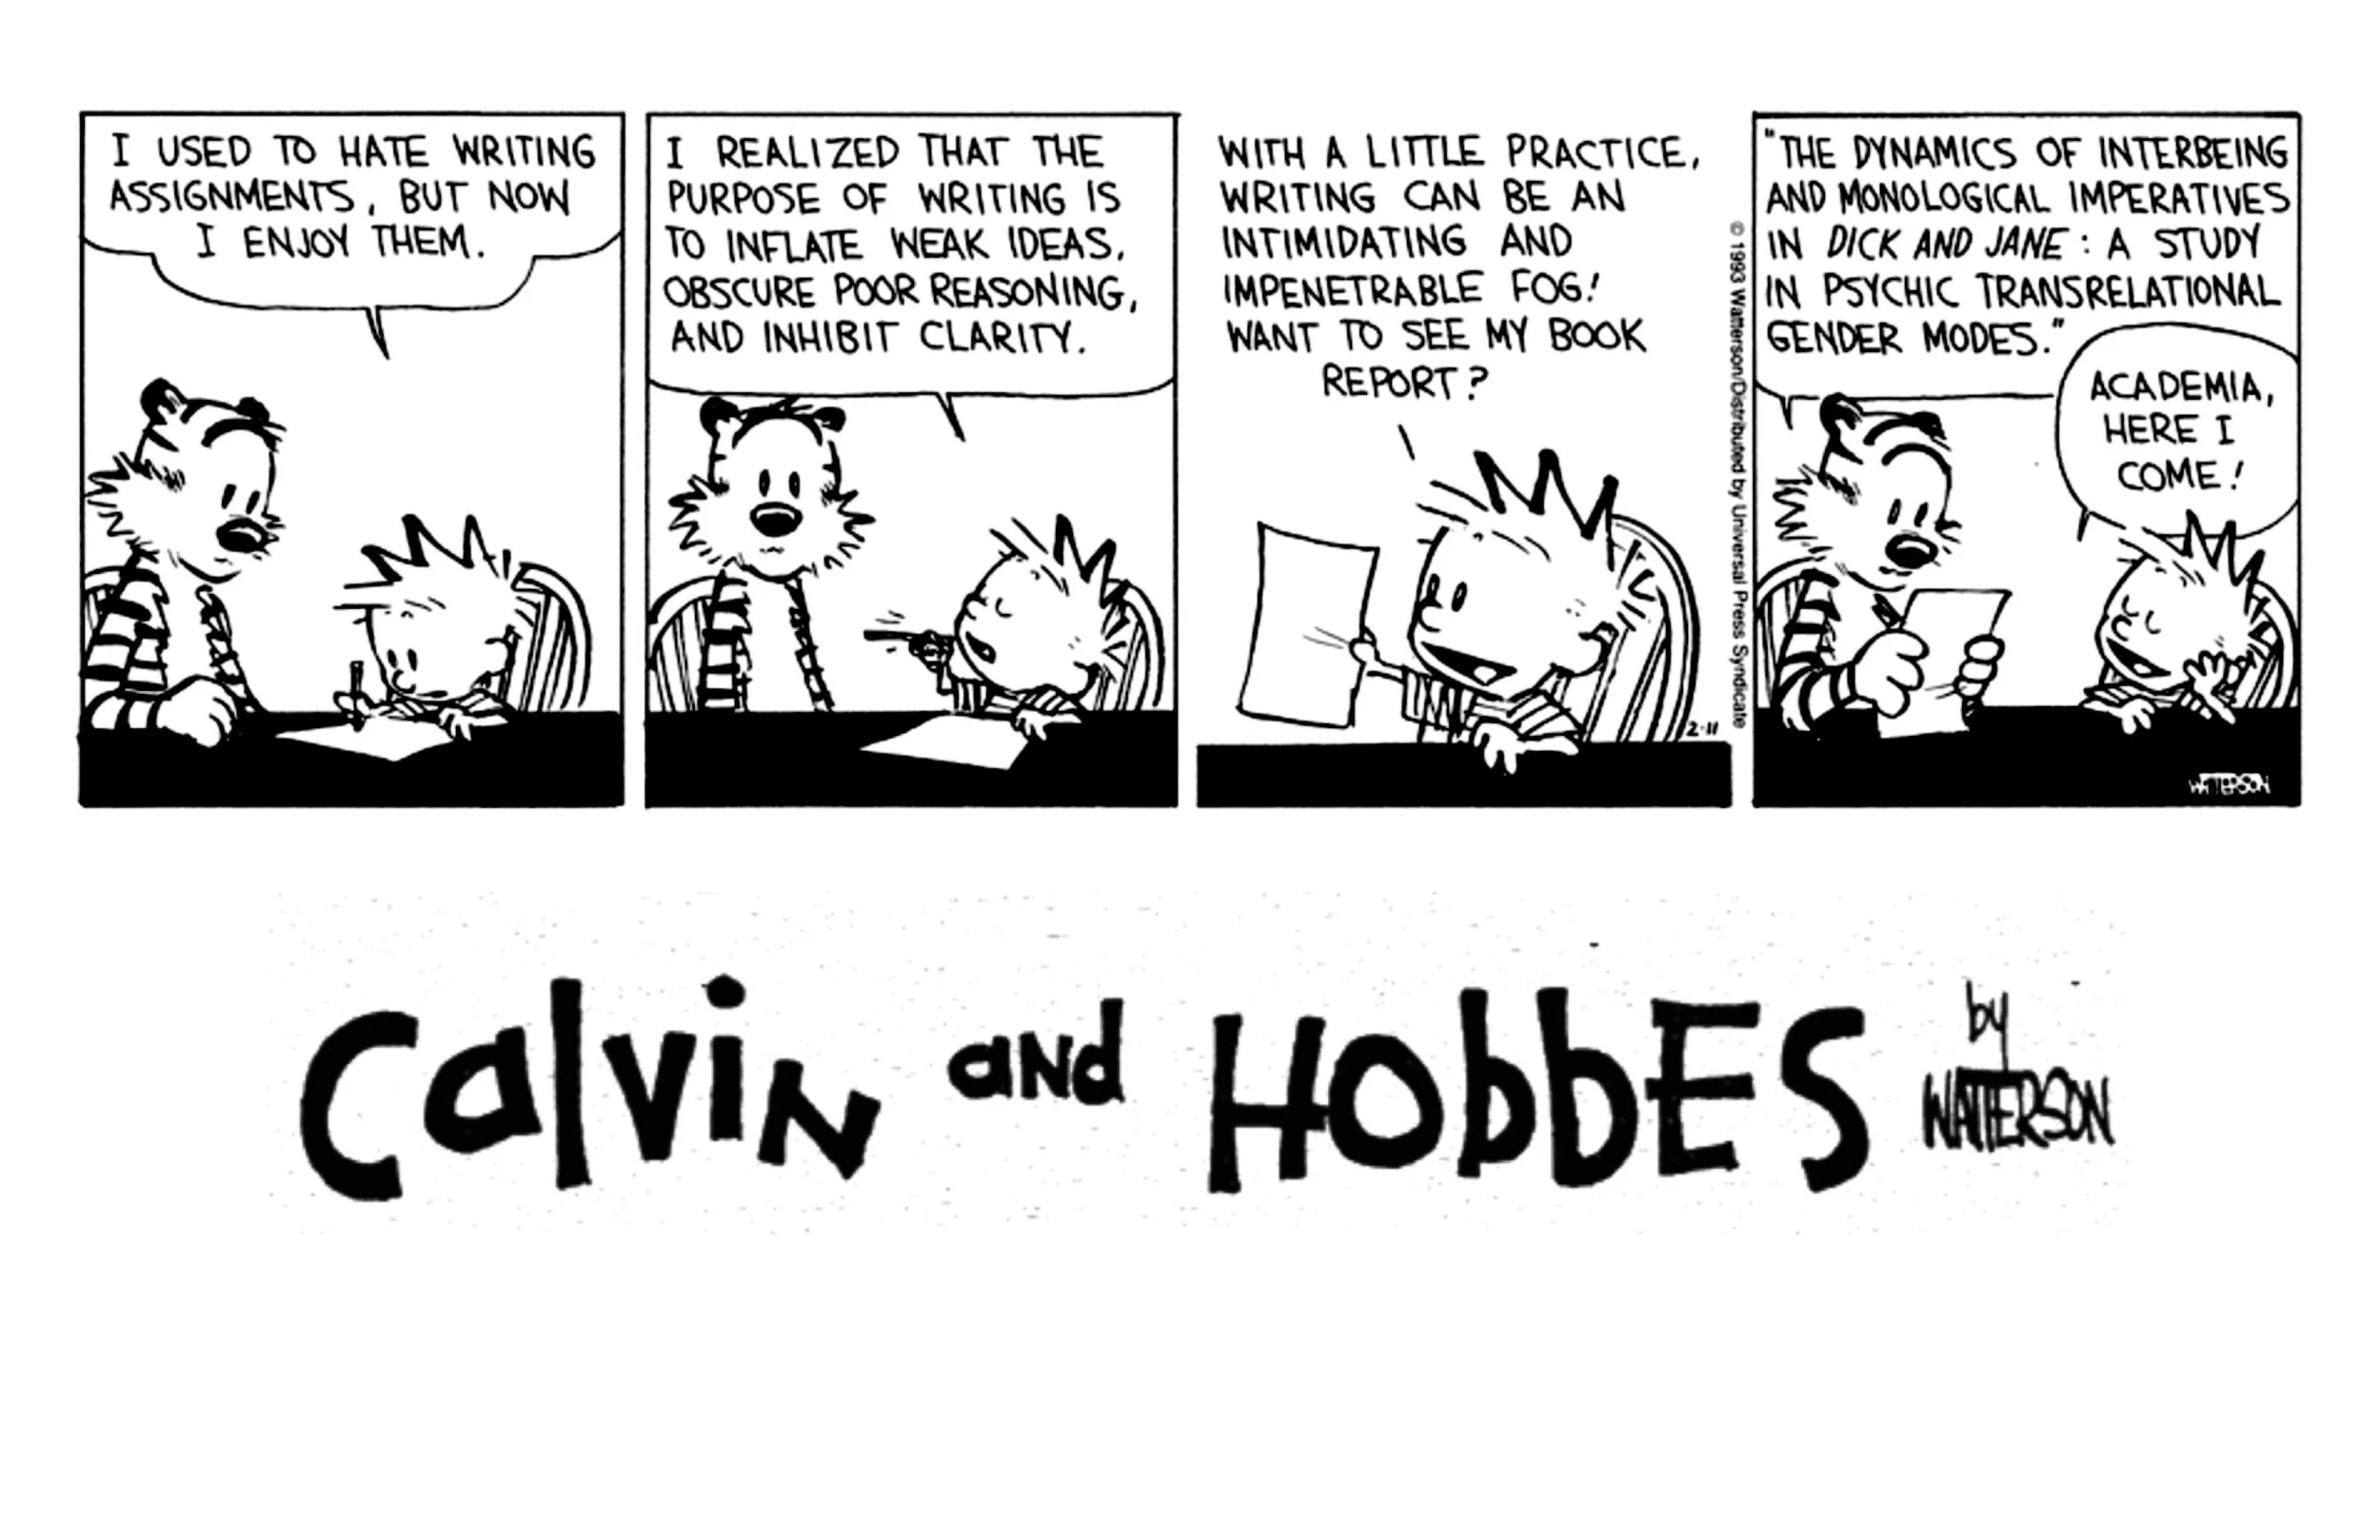
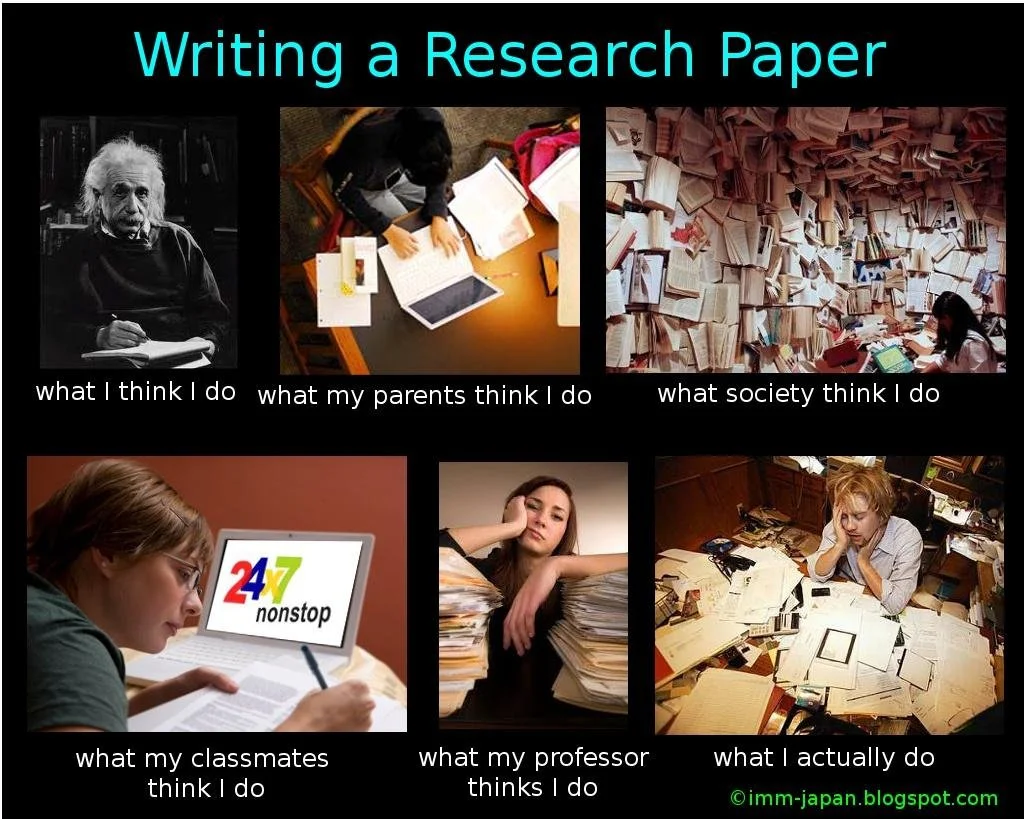
Now comes the part that terrifies most students: actually writing the thing.
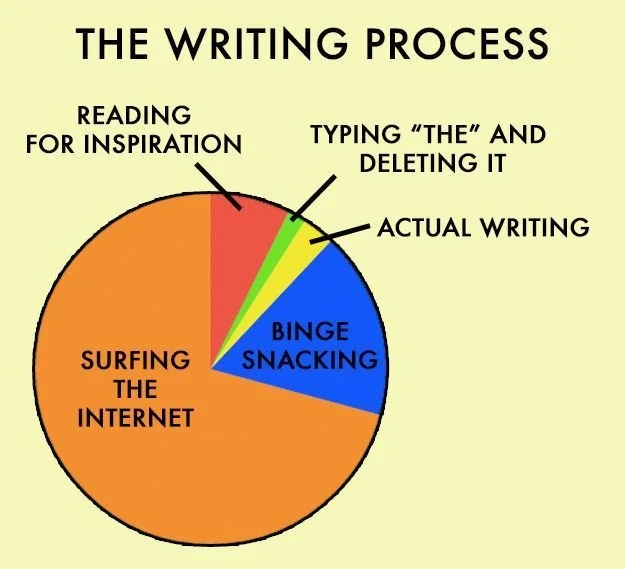
Here’s what usually happens: You open a blank document. You write one sentence. You delete it. You write it again differently. You delete it again. You spend 45 minutes on the first paragraph and hate every word.
Sound familiar?
Here’s the truth: Writing doesn’t have to be this hard. You’re making it harder by trying to write perfectly on the first go.
This lesson is about getting your ideas DOWN in a structured way, without obsessing over perfection. We’ll make it pretty later. Right now, we just need to get it OUT.
The Foundation: Document Structure FIRST, Pretty Words LATER
Before you write a single sentence, you need to set up the skeleton of your document.
Think of it like building a house: you don’t start with the paint color. You start with the framework - where the walls go, where the rooms are, what connects to what.
Your document skeleton = headings and subheadings
Step 1: Create Your Document Structure
Take your outline from Lesson 1 and turn each main group into a heading.
Example (using our restorative justice assignment):
Introduction
Background: What is Restorative Justice?
Case Study 1: [Specific Example]
Case Study 2: [Specific Example]
Strengths: What Works
Limitations: What Doesn't Work
Conclusion
Now, add bullet points under each heading for the key points you want to make.
Example:
Background: What is Restorative Justice?
Definition of restorative justice
Key principles (accountability, healing, community involvement)
How it’s implemented in NZ criminal justice system
Brief history/context
Case Study 1: [Specific Example]
What happened (the crime/situation)
How restorative justice was applied
Outcomes (immediate and long-term)
Analysis: what made it effective or not?
Why this matters:
You can see the whole structure at a glance
You know exactly what goes in each section
You won’t get lost or repeat yourself
Writing becomes “fill in the sections” not “stare at blank page”
Step 2: Write in Chunks, Not Start-to-Finish
DO NOT write your introduction first.
I know that feels wrong. But here’s why:
You don’t actually know what you’re introducing yet until you’ve written the main body.
Your introduction needs to tell readers what you’re going to argue and how. But your argument gets refined and clarified AS you write. So if you write the intro first, you’ll have to rewrite it later anyway.
Instead, write in this order:
Main body sections first (your case studies, analysis, evidence)
Conclusion next (once you know what you’ve actually argued)
Introduction last (now you can accurately introduce what you’ve written)
Write whichever section you feel most confident about FIRST. Build momentum. Get words on the page. Confidence grows as you go.
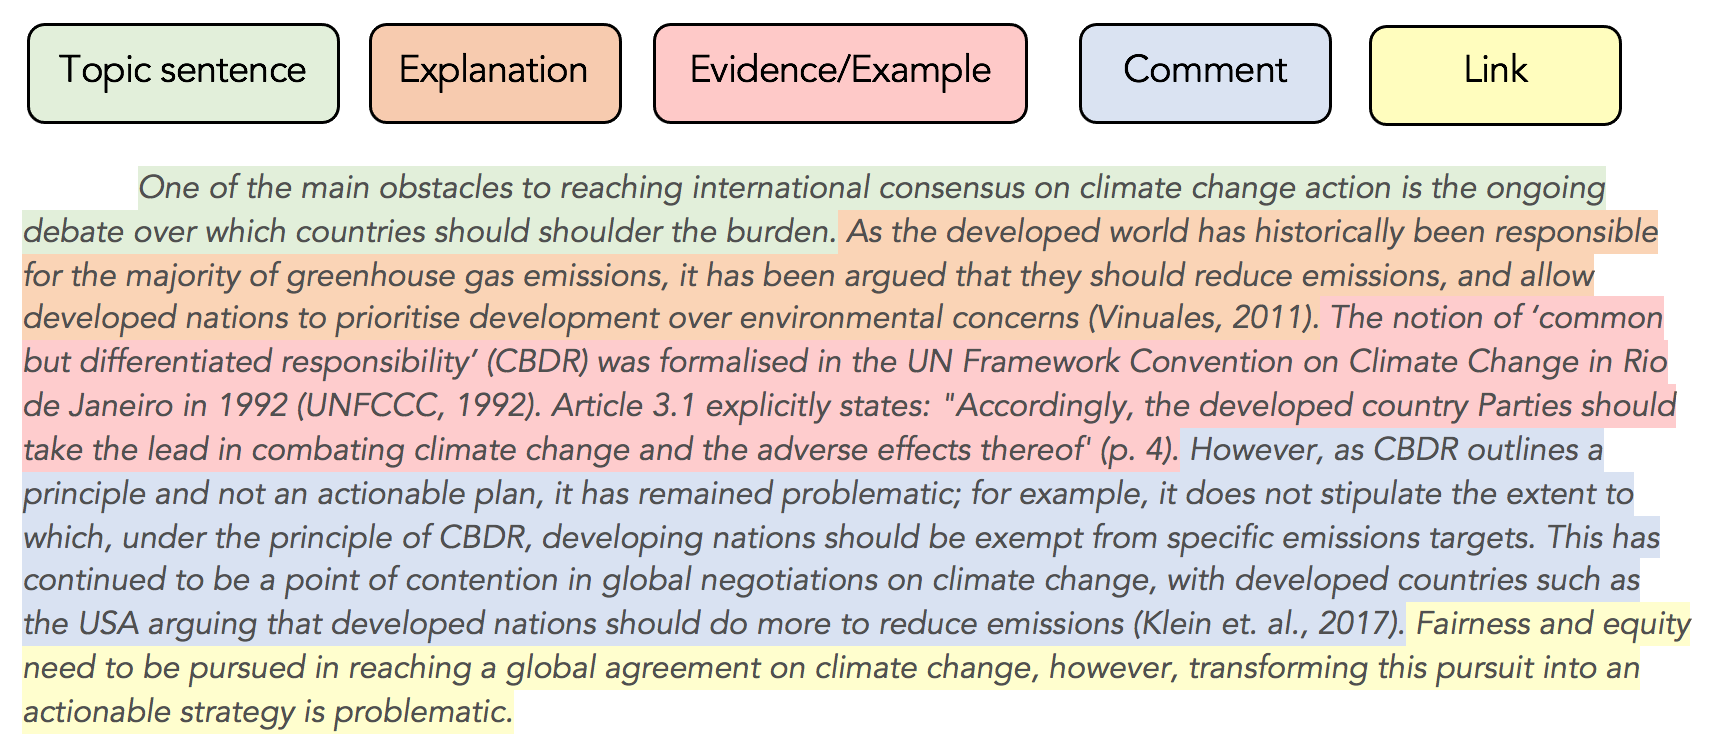
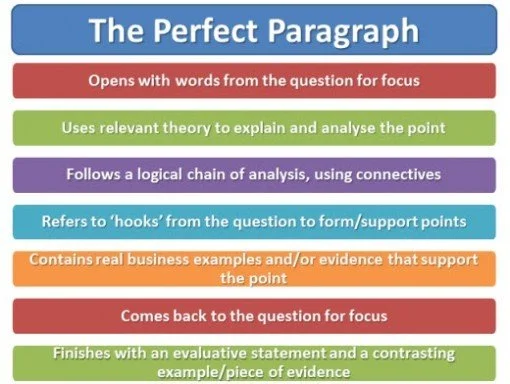
Step 3: Use the TEEEE Paragraph Structure
Every paragraph in your main body should follow this structure:
T = Topic Sentence
E = Explanation
E = Evidence
E = Example
E = Evaluation (Summary/Transition)
Let’s break down what each part does:
T - Topic Sentence
What it is: The first sentence of your paragraph that tells the reader what THIS paragraph is about.
What it does:
States the main idea/claim of the paragraph
Connects to your overall argument
Gives the reader a roadmap for what's coming
Example: “One of the key strengths of restorative justice in New Zealand is its ability to reduce reoffending rates among young offenders.”
Why it matters: If someone only reads your topic sentences, they should understand your main argument. Each topic sentence is like a mini-thesis for that paragraph.
E - Explanation
What it is: 1-2 sentences that clarify or elaborate on your topic sentence.
What it does:
Explains WHY this point matters
Clarifies any terms or concepts
Sets up the evidence you're about to present
Example: “Unlike traditional punitive approaches that focus solely on punishment, restorative justice addresses the root causes of offending behavior by involving victims, offenders, and community members in dialogue and accountability processes.”
Why it matters: Don’t assume your reader knows what you mean. Explain your reasoning clearly.
E - Evidence
What it is: Research, data, and quotes from sources that support your claim.
What it does:
Proves that your claim isn’t just your opinion
Shows you’ve engaged with scholarly sources
Builds credibility
Example: “A 2018 study by the Ministry of Justice found that youth offenders who participated in restorative justice conferences had a 15% lower reoffending rate compared to those who went through traditional court processes (Ministry of Justice, 2018).”
Why it matters: Academic writing requires evidence. Your ideas need backing from credible sources.
Important: Always cite your sources. Use your required referencing style (APA, Harvard, Chicago, etc.).
E - Example
What it is: A specific, concrete illustration of your point.
What it does:
Makes abstract concepts tangible
Helps readers understand HOW your evidence applies
Shows real-world application
Example: "“or instance, in the case of a young offender charged with graffiti in Auckland, the restorative justice process involved the offender meeting with affected shop owners, understanding the financial and emotional impact of the vandalism, and working alongside them to repair the damage through community service.”
Why it matters: Examples bring your argument to life. They show you understand the practical implications, not just the theory.
Note: Sometimes your evidence IS an example (like a case study). That’s fine - you can combine these two E’s when it makes sense.
E - Evaluation (Summary/Transition)
What it is: 1-2 sentences that wrap up the paragraph and connect to what's next.
What it does:
Reminds the reader how this paragraph supports your overall argument
Creates a smooth flow to the next paragraph
Shows you’re thinking critically, not just describing
Example: “This case demonstrates that restorative justice can be particularly effective when offenders are willing to engage genuinely with the process and when victims are open to dialogue. However, as the next section will show, not all cases produce such positive outcomes.”
Why it matters: Academic writing isn’t just listing facts. It’s building an argument step by step. The evaluation shows you’re connecting the dots.
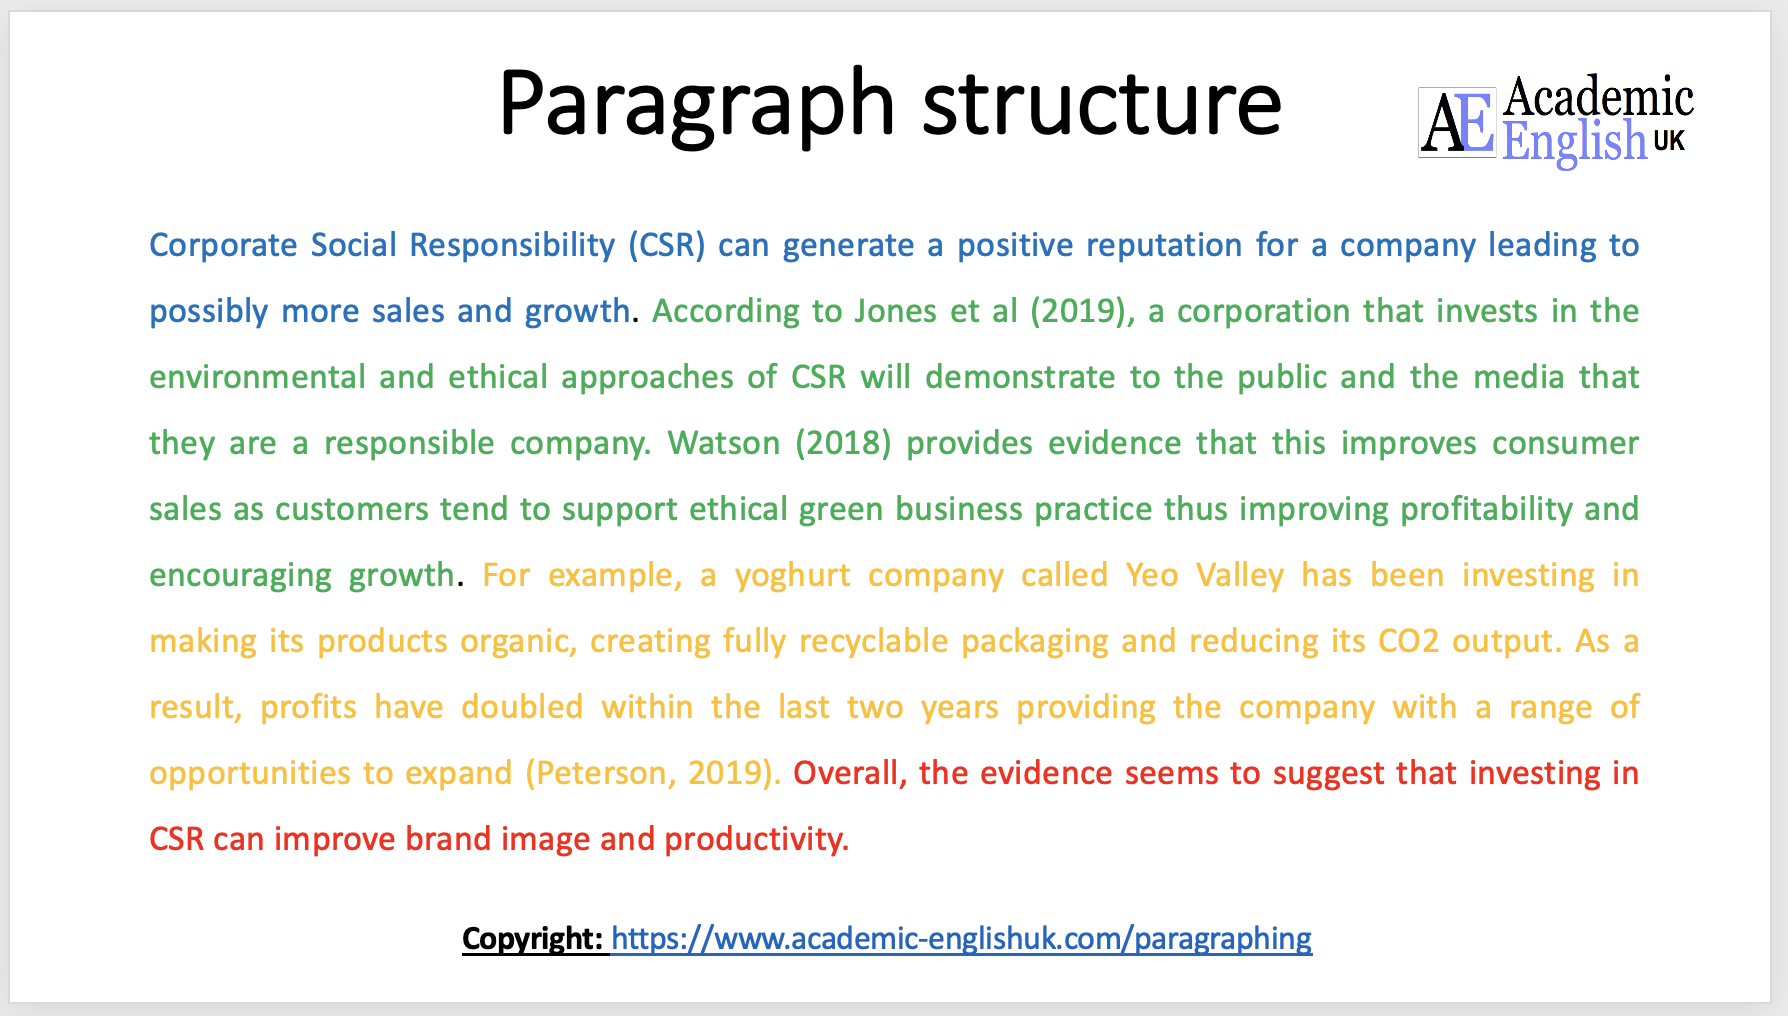
Putting It All Together: A Complete TEEEE Paragraph
T: One of the key strengths of restorative justice in New Zealand is its ability to reduce reoffending rates among young offenders.
E: Unlike traditional punitive approaches that focus solely on punishment, restorative justice addresses the root causes of offending behavior by involving victims, offenders, and community members in dialogue and accountability processes.
E: A 2018 study by the Ministry of Justice found that youth offenders who participated in restorative justice conferences had a 15% lower reoffending rate compared to those who went through traditional court processes (Ministry of Justice, 2018).
E: For instance, in the case of a young offender charged with graffiti in Auckland, the restorative justice process involved the offender meeting with affected shop owners, understanding the financial and emotional impact of the vandalism, and working alongside them to repair the damage through community service.
E: This case demonstrates that restorative justice can be particularly effective when offenders are willing to engage genuinely with the process and when victims are open to dialogue. However, as the next section will show, not all cases produce such positive outcomes.
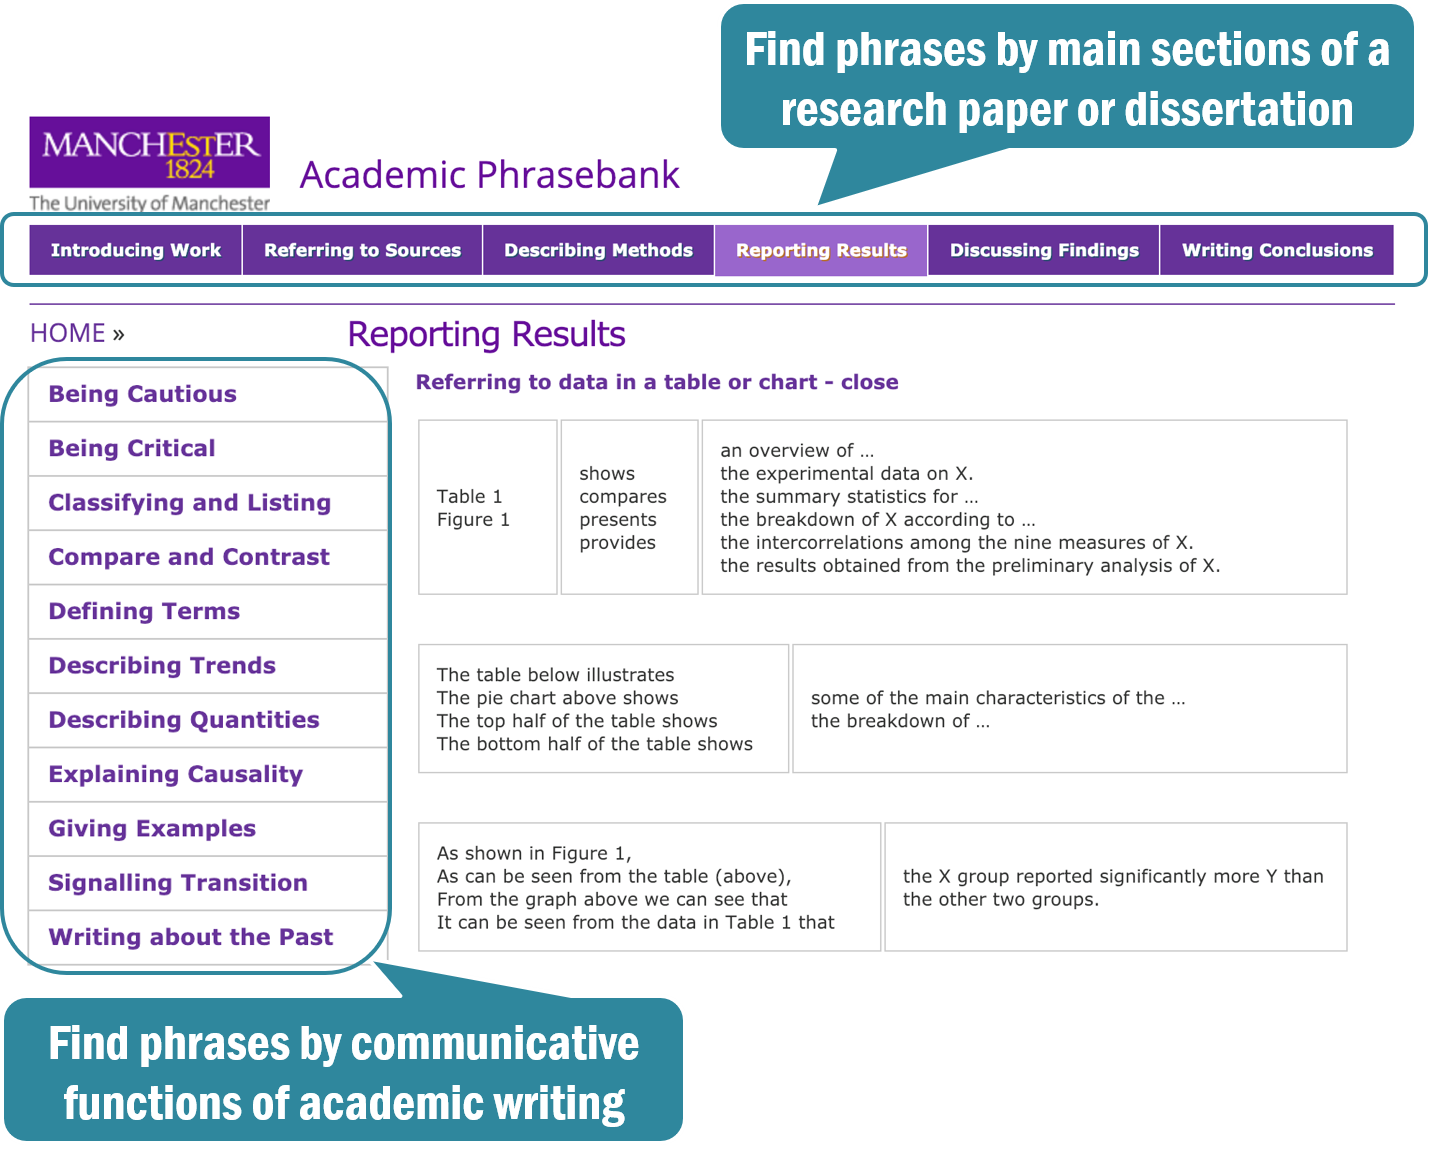
Step 4: Use Academic Phrasebank for Topic Sentences and Transitions
What is Academic Phrasebank?
It’s a free online resource from the University of Manchester that provides sentence templates for academic writing. Think of it as a toolkit of professional phrases you can adapt for your own work.
Find it here: https://www.phrasebank.manchester.ac.uk/
Why use it?
You don’t have to reinvent the wheel for every sentence
It helps you sound more academic without being overly complicated
It gives you templates for tricky transitions and evaluations
It’s particularly useful when English isn’t your first language
Useful Phrasebank Categories:
For introducing topics:
This section examines...
The following discussion focuses on...
A key aspect of [topic] is...
For presenting evidence:
Research conducted by [author] suggests that...
According to [source]...
Evidence from [study] indicates that...
For showing contrast:
However, it is important to note that...
By contrast...
On the other hand...
For evaluating:
This suggests that...
These findings indicate...
It can therefore be argued that...
For transitions:
Building on this point...
Having established [X], it is now necessary to...
This leads to the question of...
My advice: Don’t just copy-paste phrases. Read through the Phrasebank, find structures that work for your argument, then ADAPT them to your own voice and content.

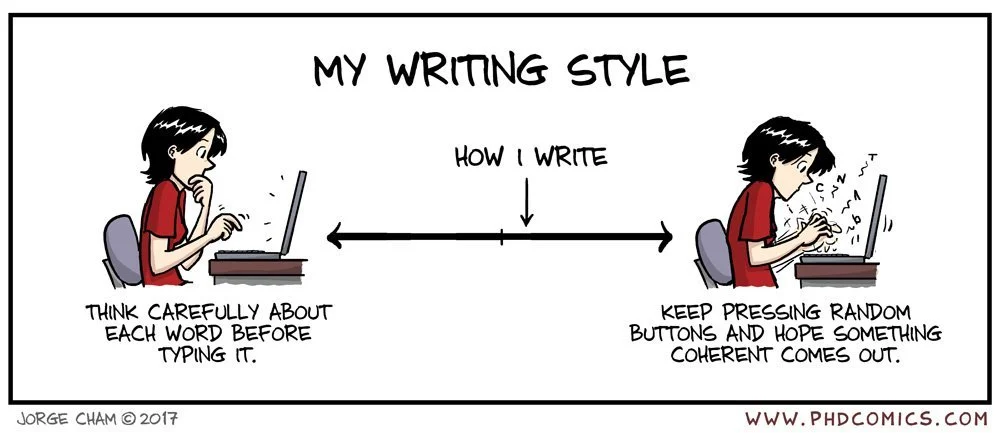
Step 5: Just Write (Imperfectly)
Here’s your permission slip: Your first draft is allowed to be terrible.
Seriously.
Your job right now is NOT to write beautifully.
It’s to get your ideas out of your head and into sentences.
Tips for getting unstuck:
1. Start with bullet points, then turn them into sentences
Before:
Restorative justice reduces reoffending
Study shows 15% reduction
Example: Auckland graffiti case
After (turning bullets into TEEEE): [Full paragraph as shown above]
2. Use [brackets] for things you need to look up later
“Research shows that restorative justice reduces reoffending by [find exact percentage and cite source].”
Don’t stop writing to hunt for the perfect reference. Mark it and keep going. You can add it to your ‘Low-Hanging Fruit Tasks’ list at the end of your study session!
3. Talk it out, then write it down
Explain your point out loud to yourself (or to a study buddy, or to your cat). However you say it out loud? That’s probably clearer than the overly complicated version you were trying to write.
4. Write badly on purpose
Tell yourself: “I’m going to write the worst version of this paragraph possible.” Somehow, that takes the pressure off, and the words flow.
5. Set a timer and don't stop writing
20 minutes. Just write. Don’t edit. Don’t delete. Don’t judge. Just get words on the page. You can fix them later.
Common Writing Mistakes (And How to Fix Them)
❌ Mistake 1: Trying to make every sentence perfect before moving to the next one
✅ Fix: Write the whole section first, THEN go back and refine.
❌ Mistake 2: Using overly complicated language to “sound academic”
✅ Fix: Clear and precise beats unnecessarily complex every time.
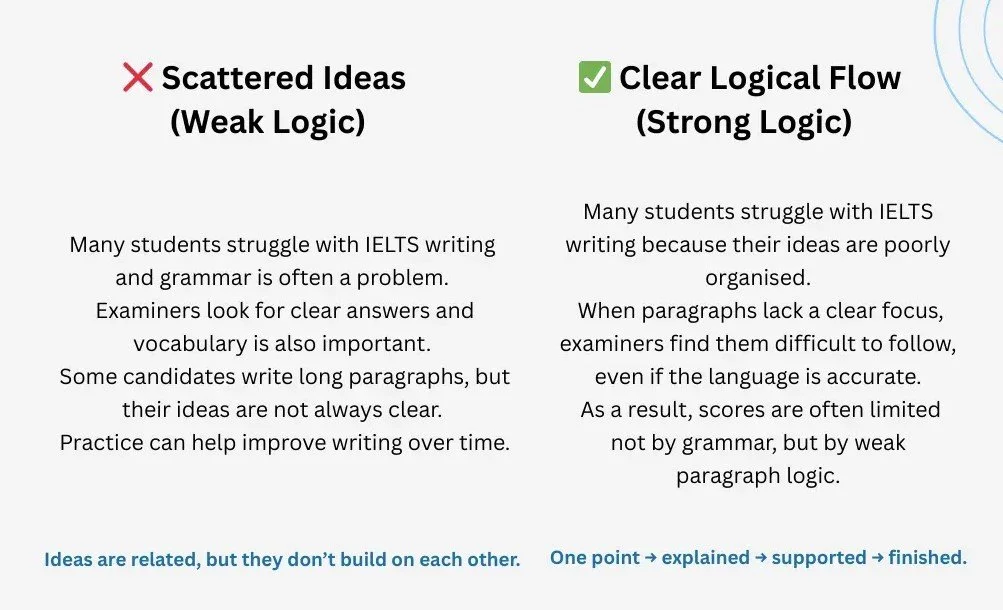
❌ Mistake 3: Writing massive paragraphs with multiple different ideas
✅ Fix: One paragraph = one main idea. If you’re making a new point, start a new paragraph.
❌ Mistake 4: Describing what sources say without analysing or evaluating
✅ Fix: Don’t just report - engage. What does this evidence mean? How does it support your argument?
Your Turn: Action Steps
Take your outline from Lesson 1 and turn it into a document with headings and subheadings
Add bullet points under each heading for the key points you want to make
Choose ONE section (not the introduction) and write it using TEEEE structure
Explore Academic Phrasebank and bookmark useful phrases for your discipline
Set a timer for 20 minutes and write without editing
Mark anything you need to look up later with [brackets] and keep writing
Knowledge Nuggets:
Structure first, polish later. You can’t edit a blank page.
TEEEE keeps your paragraphs focused and your argument clear.
Academic Phrasebank is your friend - use it to build confidence in academic writing.
Your first draft is supposed to be messy. That’s what editing is for.
Writing is thinking. You discover what you're actually arguing as you write.
In Lesson 3, we’ll take your messy first draft and turn it into a polished, submission-ready piece through the EDIT IT process.
Mauri tū, Mauri ora!
-
Add a short summary or a list of helpful resources here.